Puzzle solution / Steam full release
All 5 golden feathers, with the route to each
Updated 2026-11-16 · Steam full release
There are five golden feathers. Their routes use the moon-in-the-eye transformation: the elevator summit, the hidden ninth painting, the ice ledges, the room that teaches the eye trick, and a hidden room above-left of the frog. Start with the eye-room feather to learn the movement, then use the routes below. The numbers here identify routes, not a required collection order.
On this page
The five routes
Before the routes: become the moon
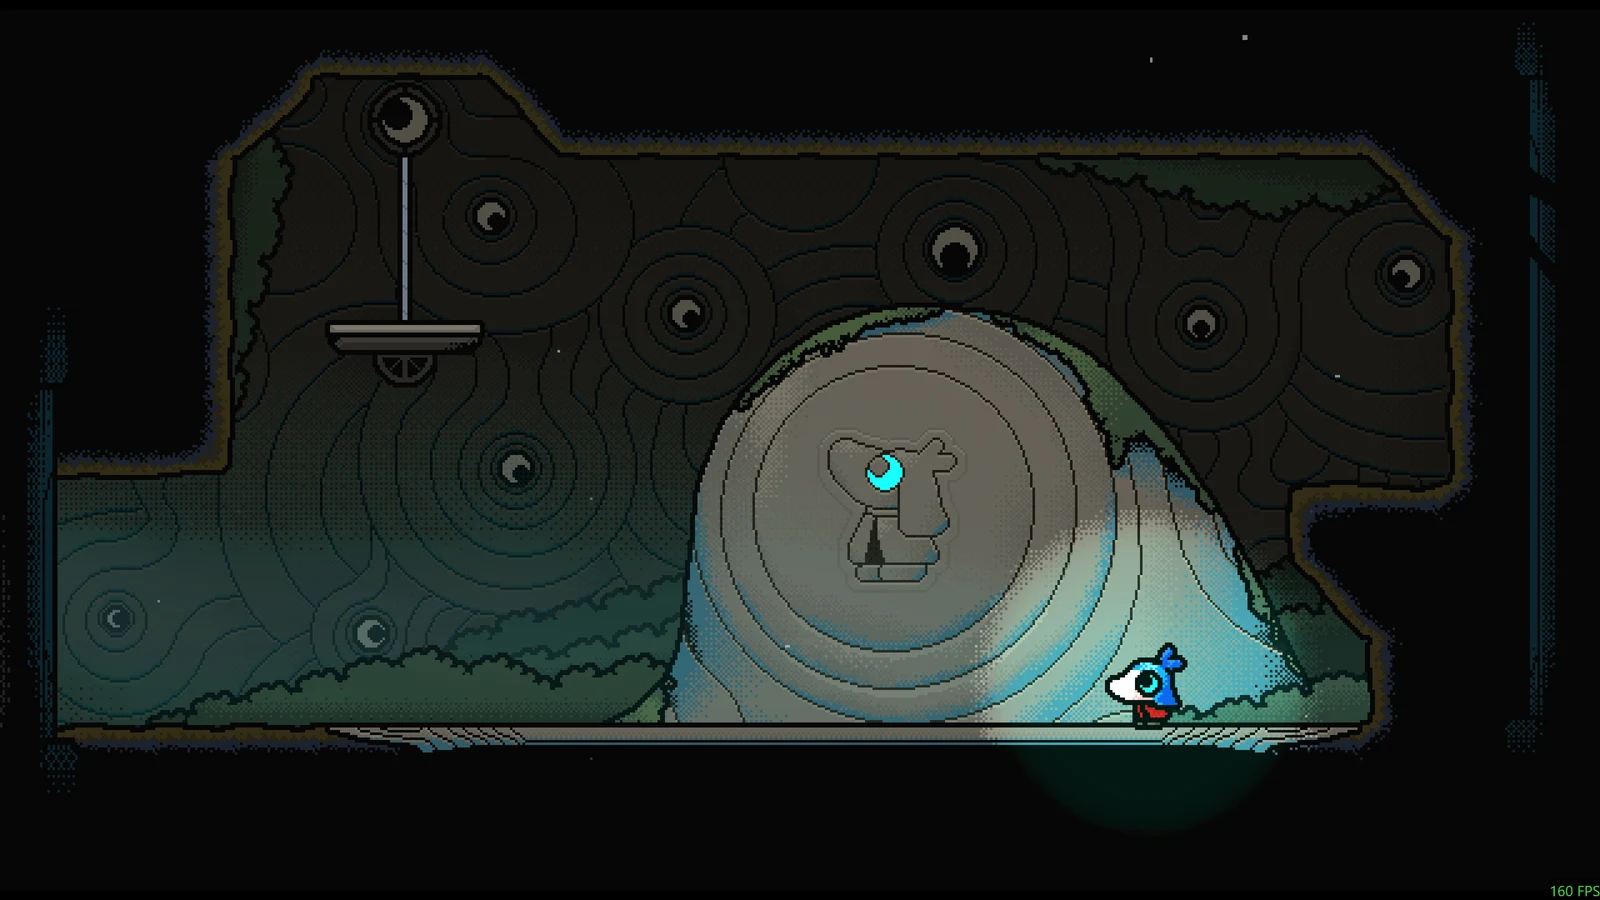
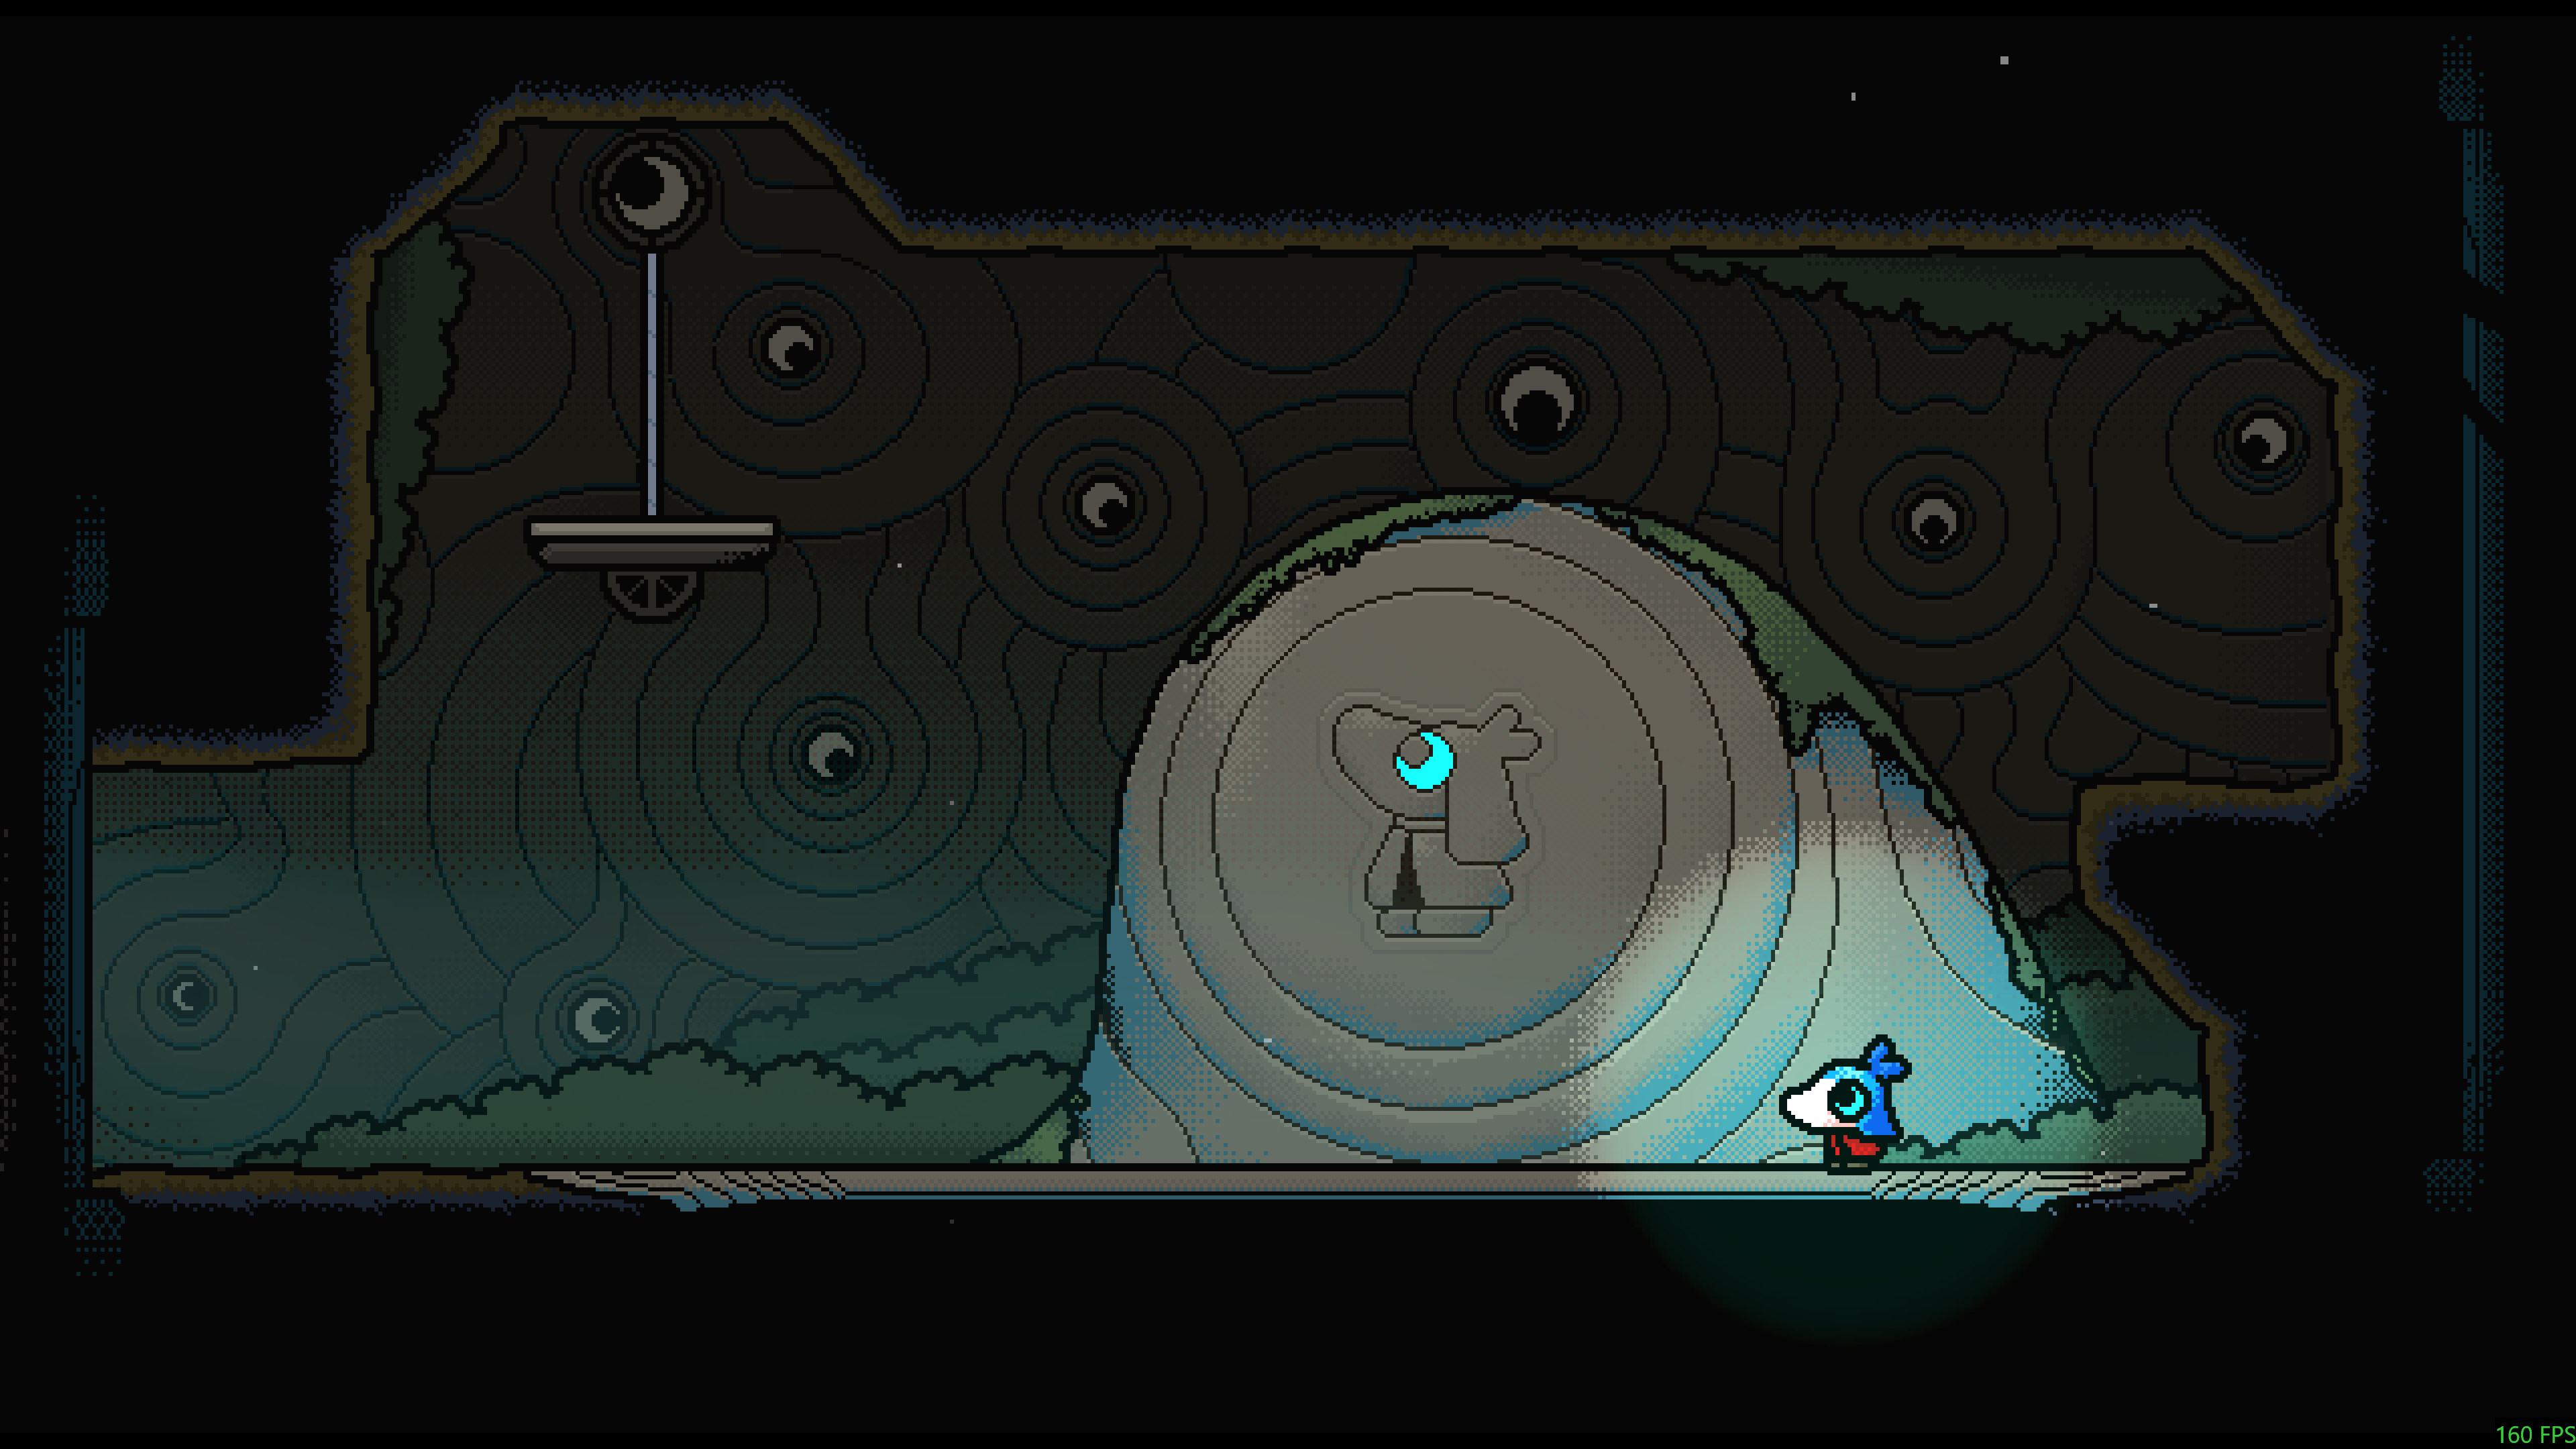
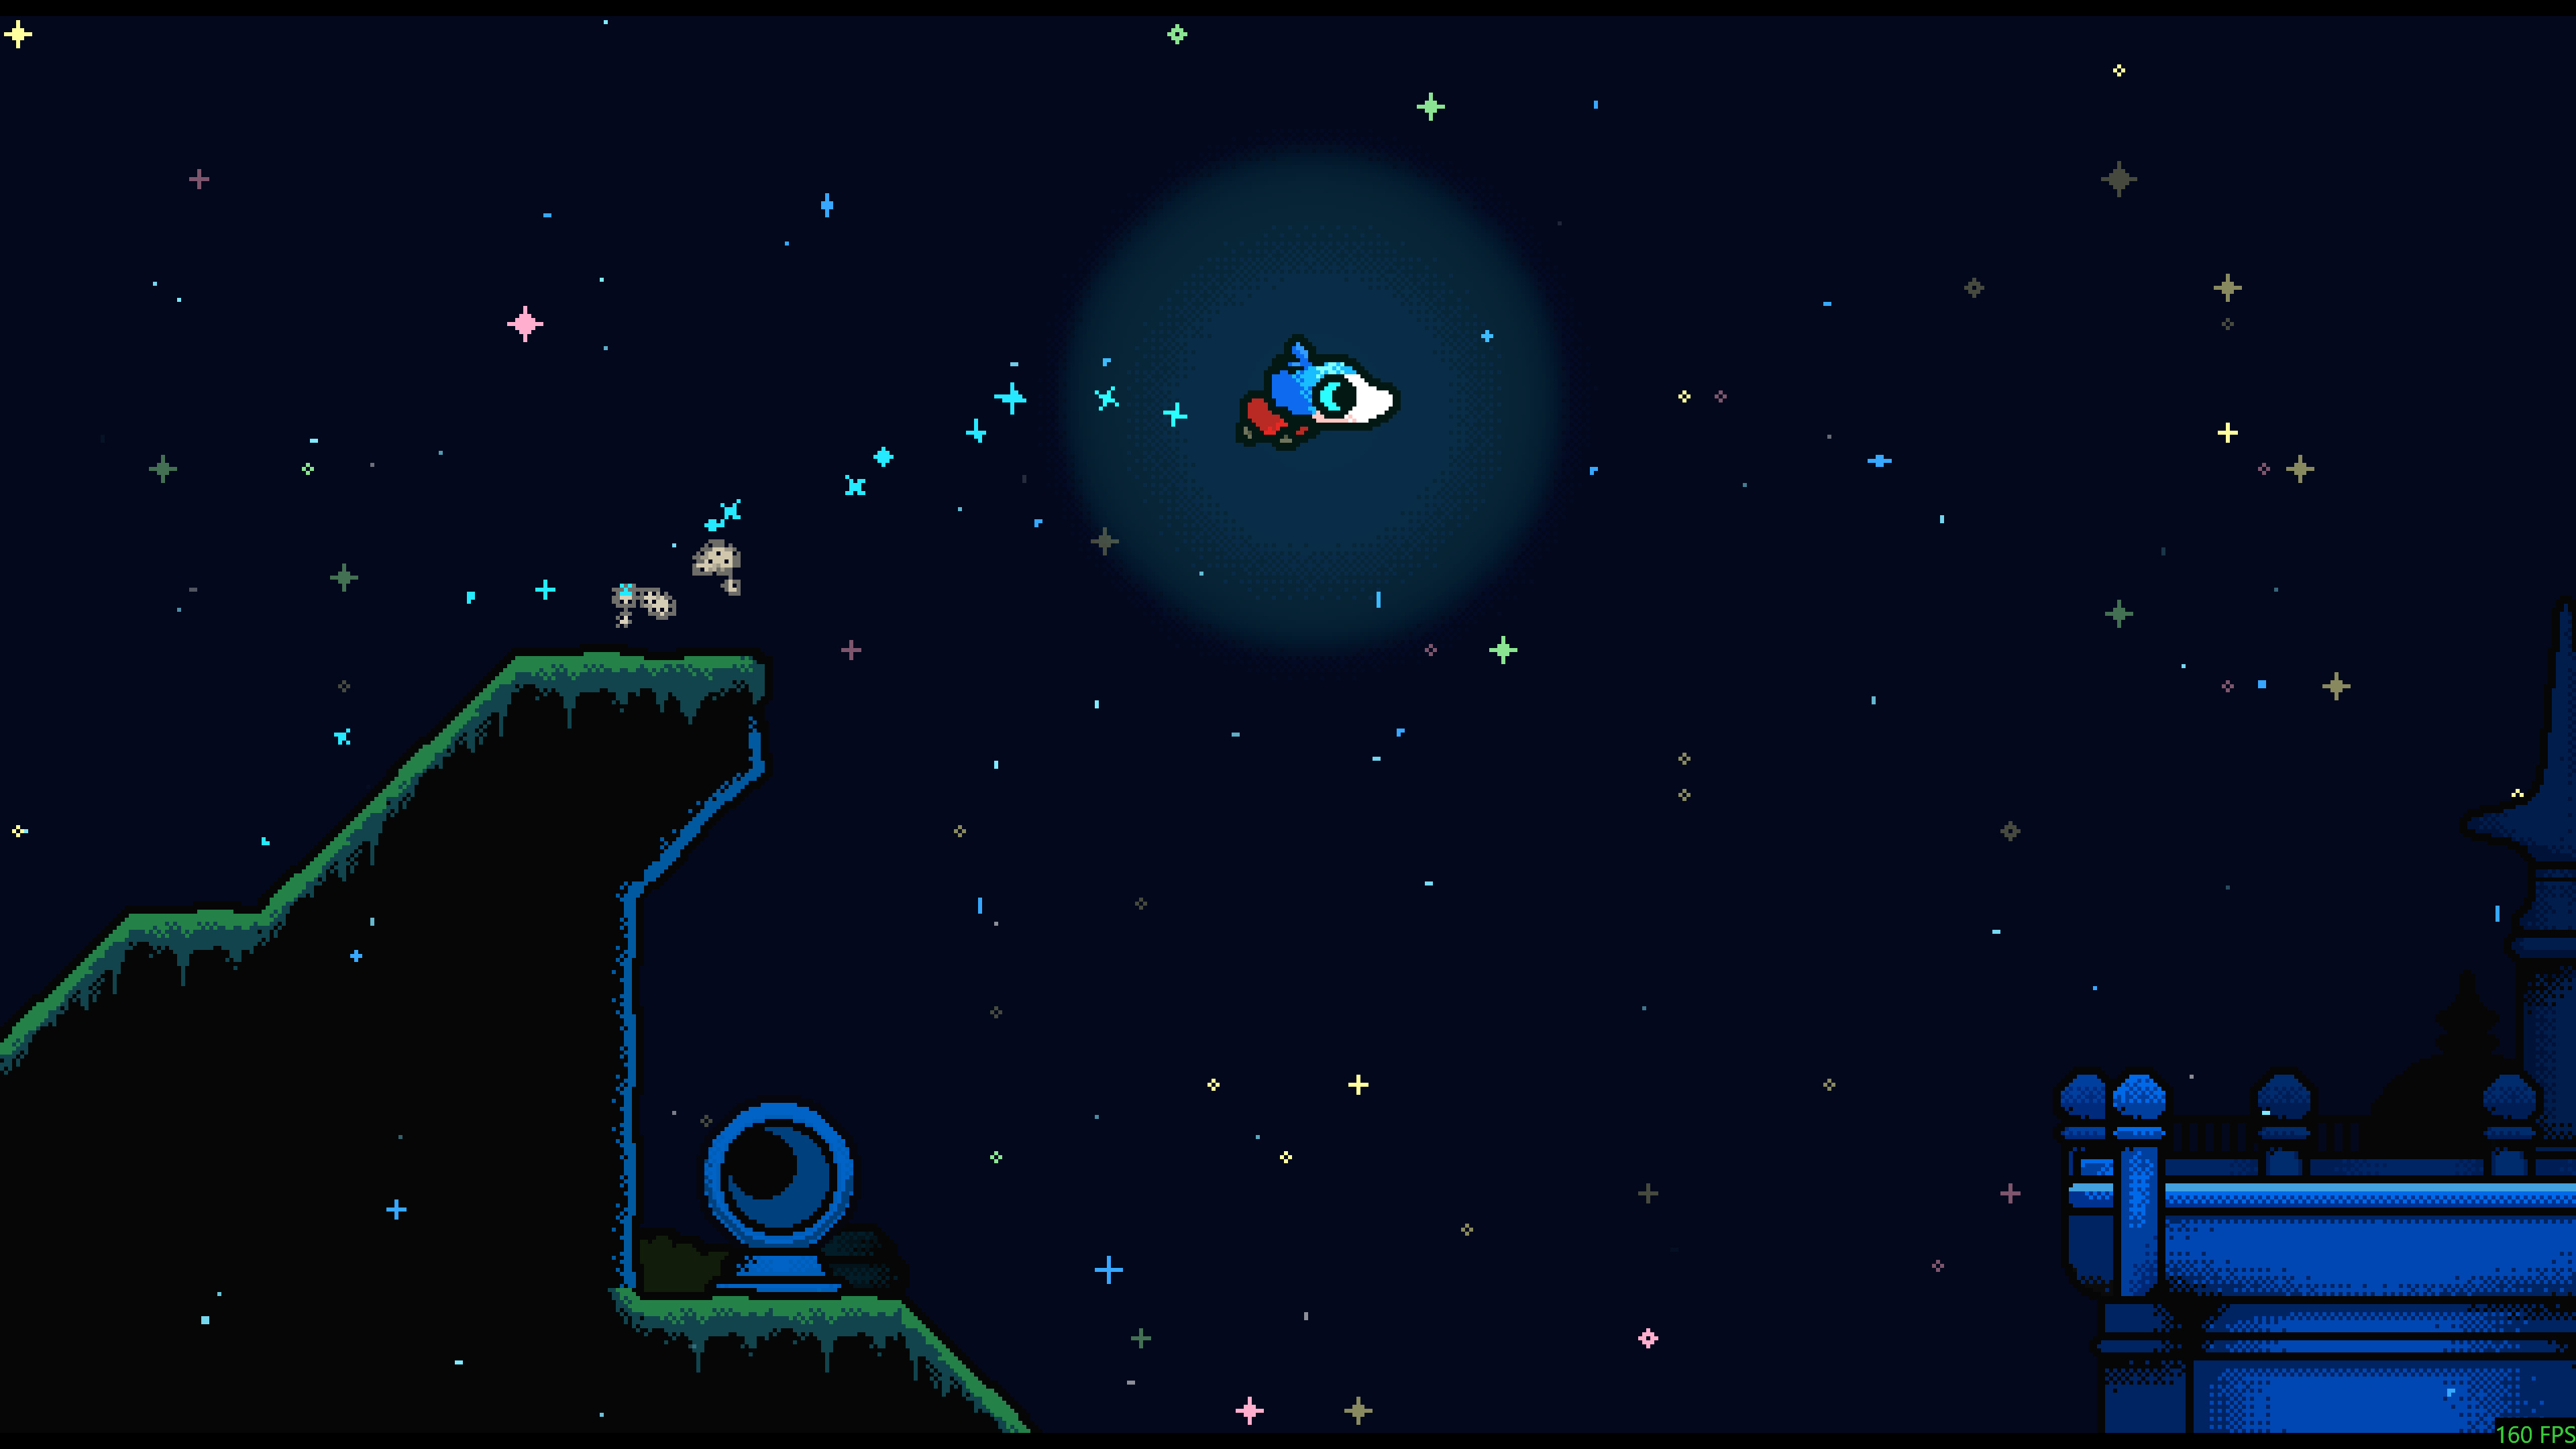
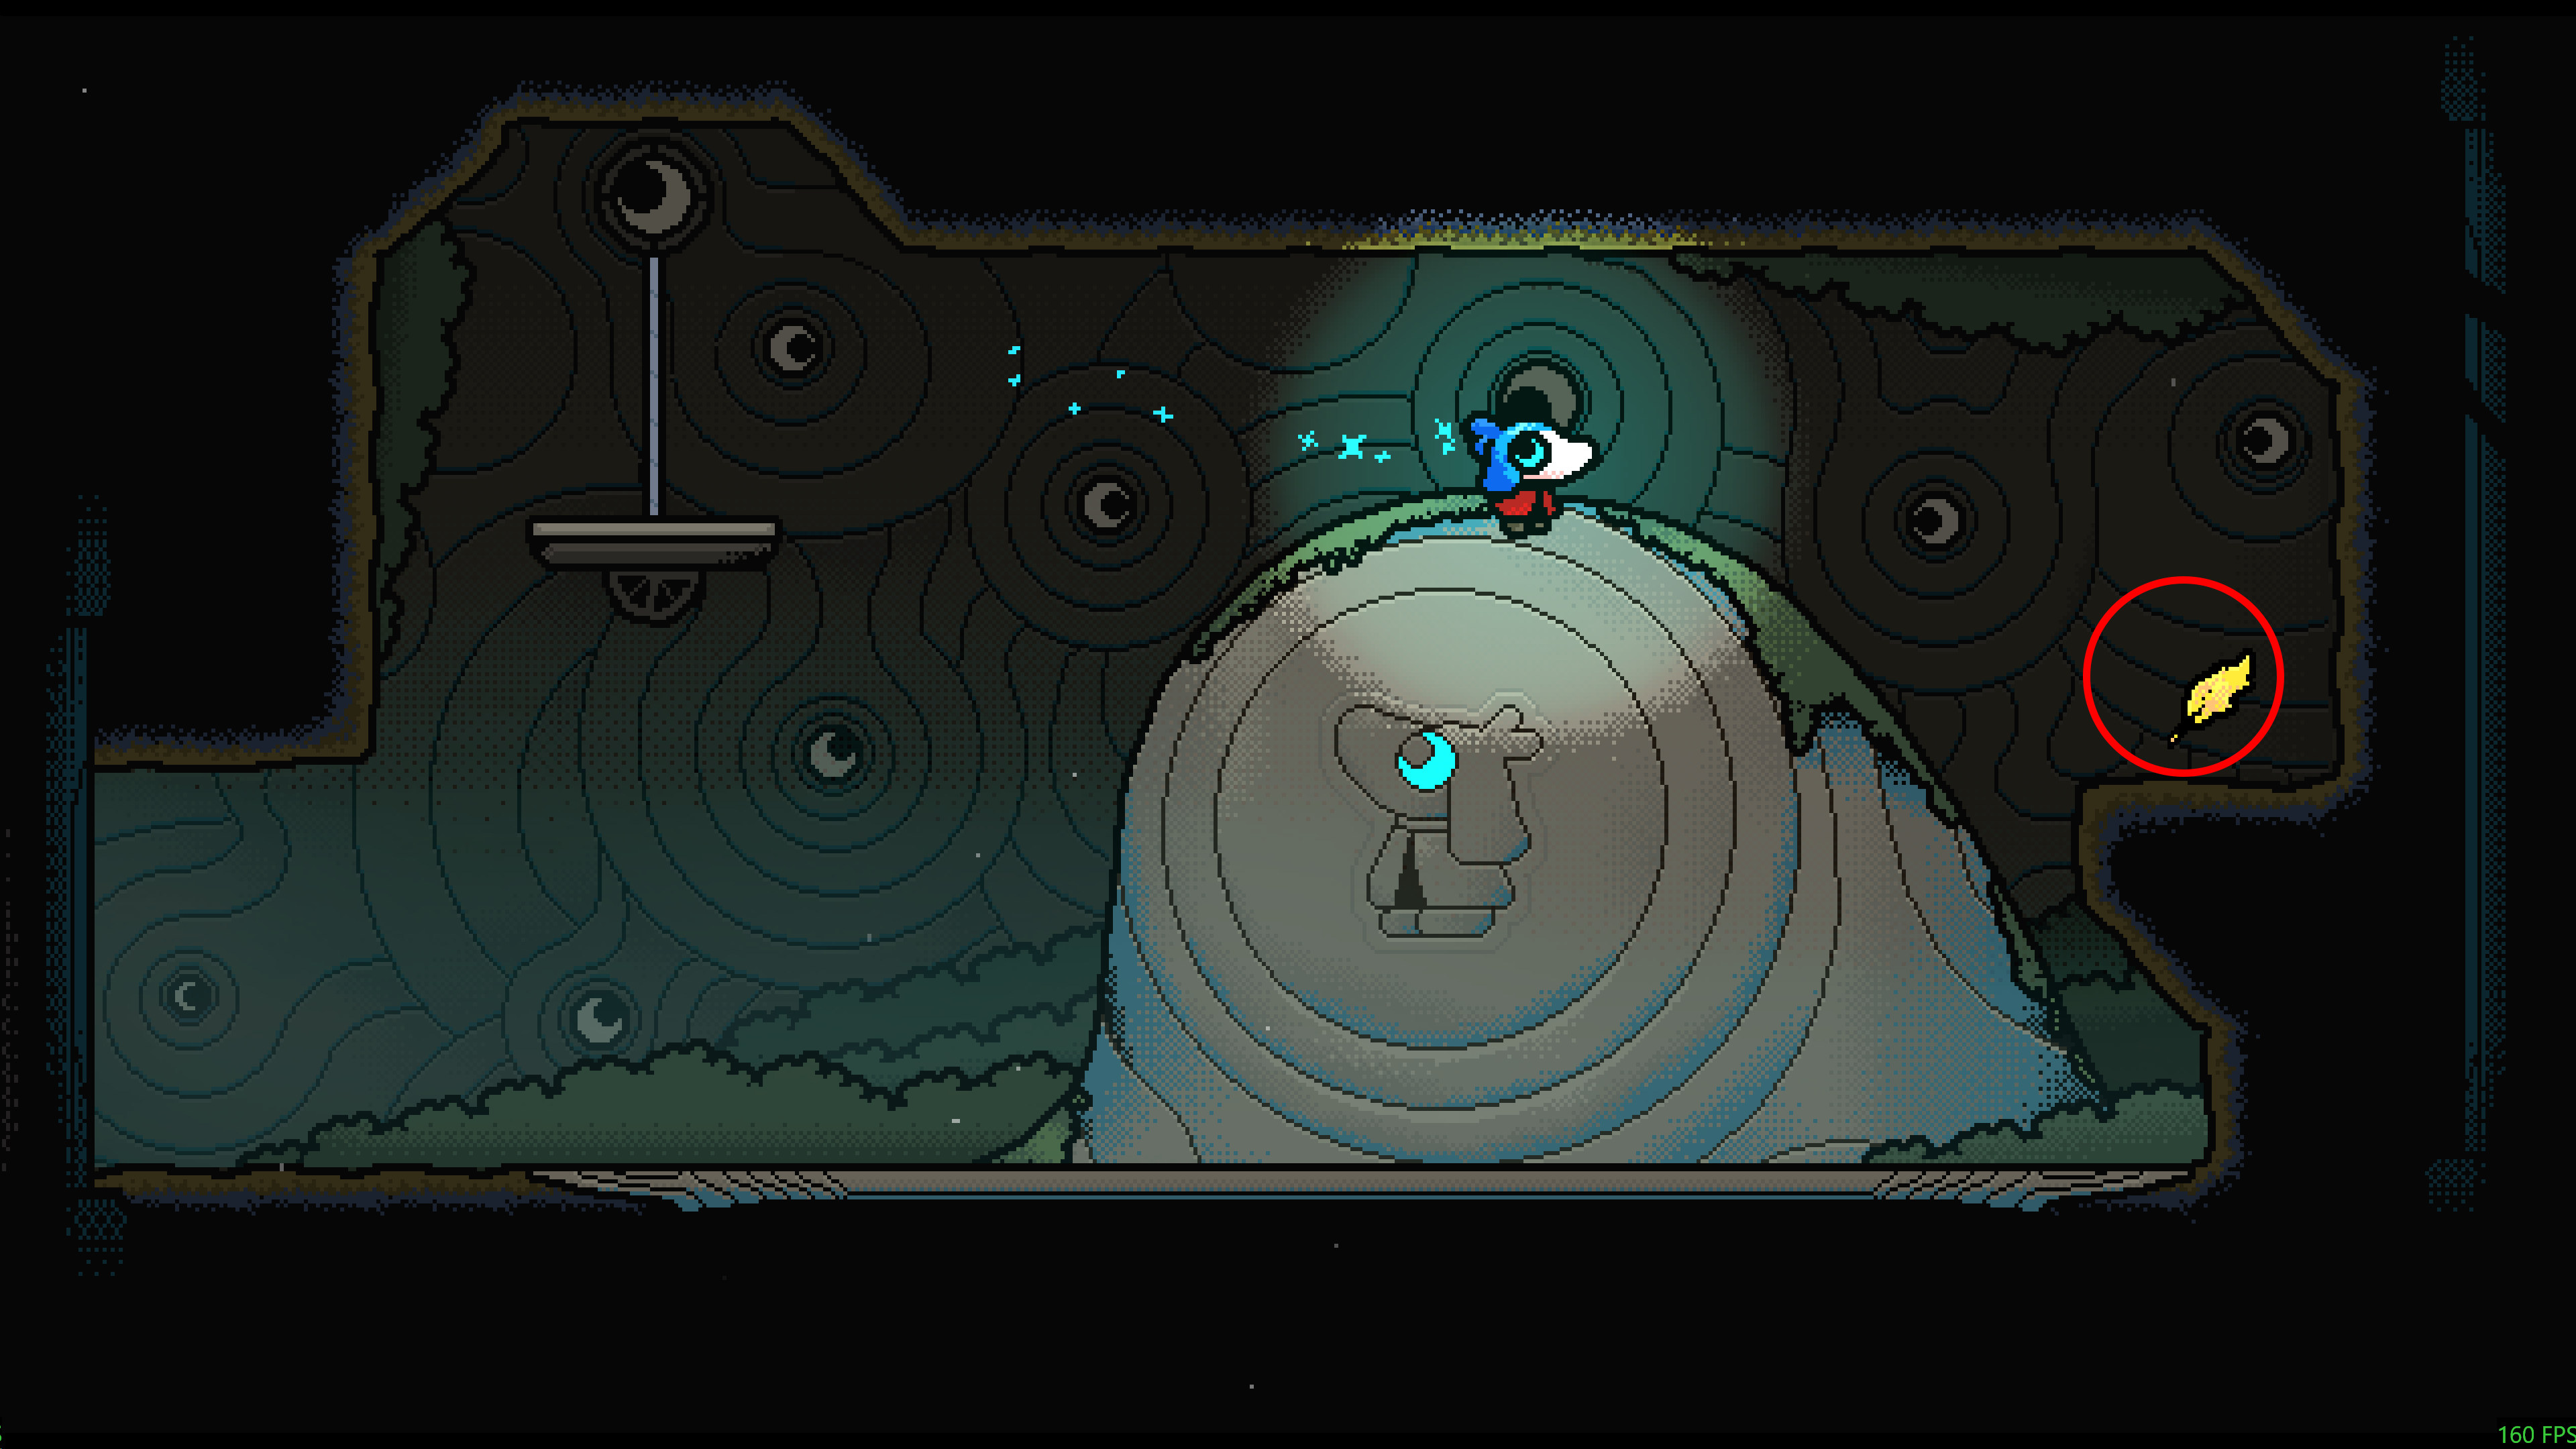
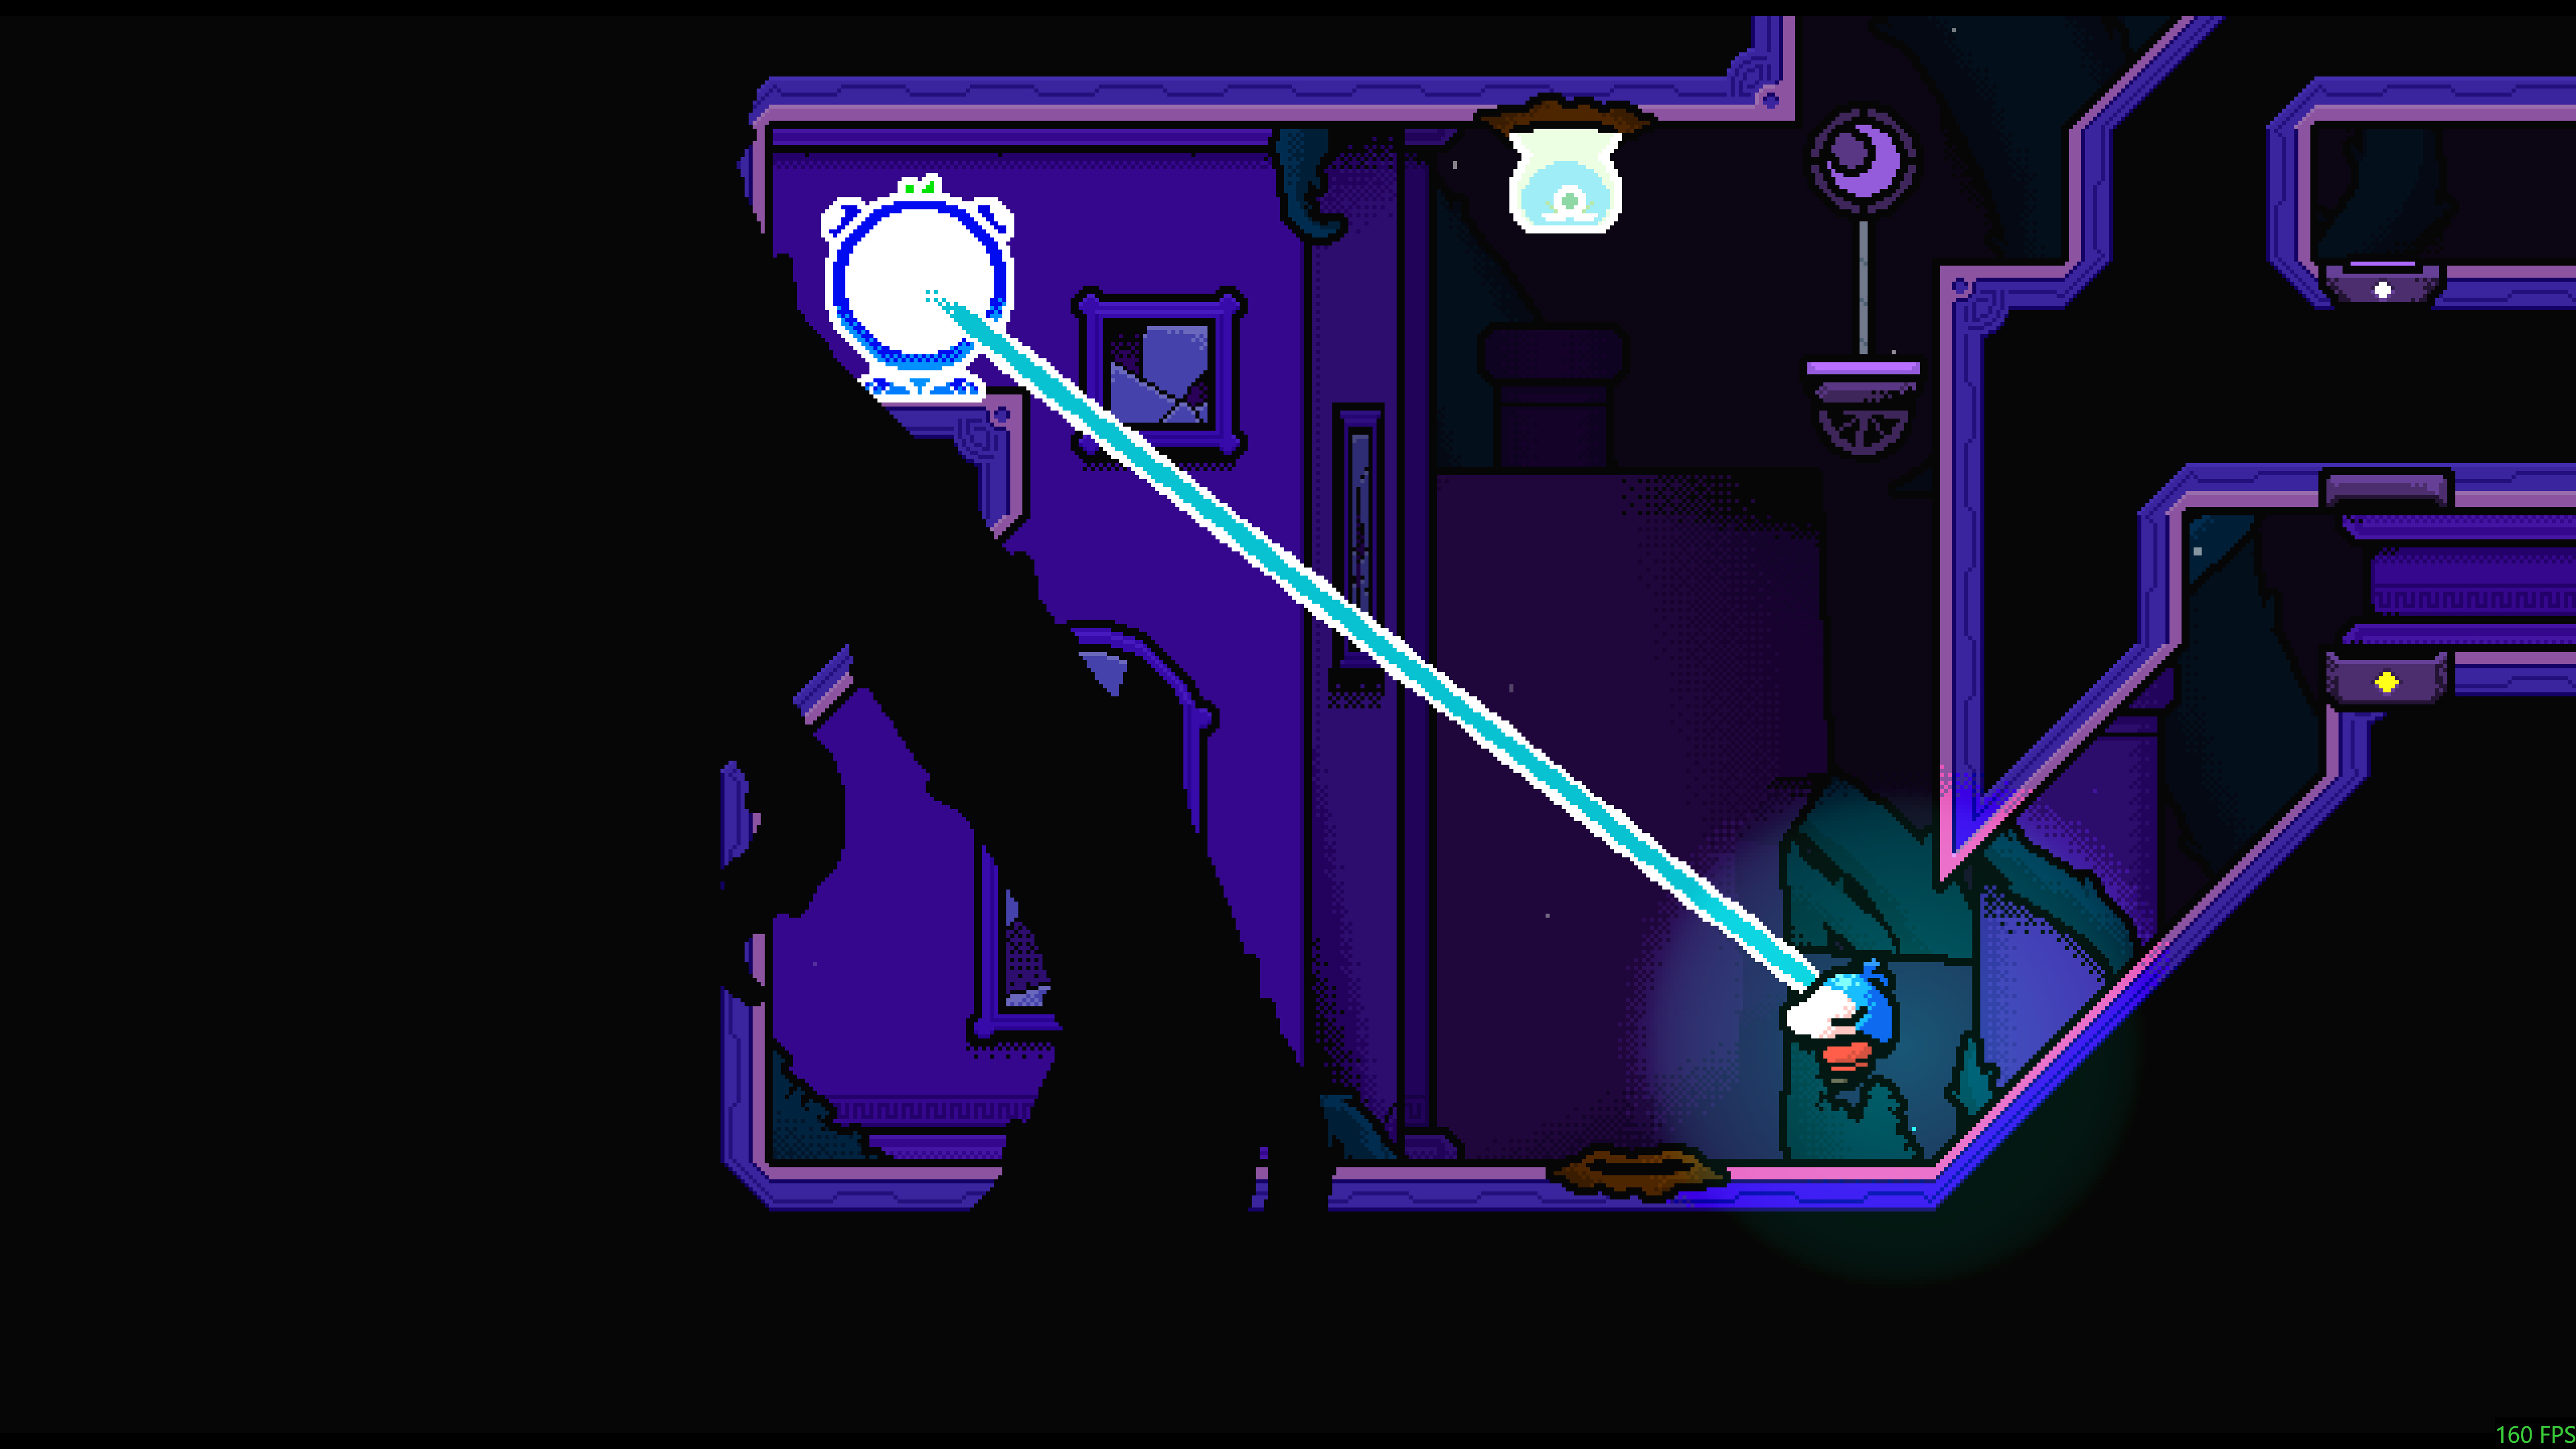
Find the blue-eye rock room pictured below. Open your inventory and make the character portrait look up and left until the white of the eye forms a crescent. Keep inventory icons clear of the eye, then place the moon cursor in that crescent-shaped white. This activates moon form, a temporary low-gravity state used by all five routes. You can also collect this room’s own feather using route 4 below.
 Open full-size image ↗
Find this blue-eye rock room and learn the moon-in-the-eye transformation. Steam screenshot: 文丶丶叔. Before the routes: reveal the hidden Tome clues
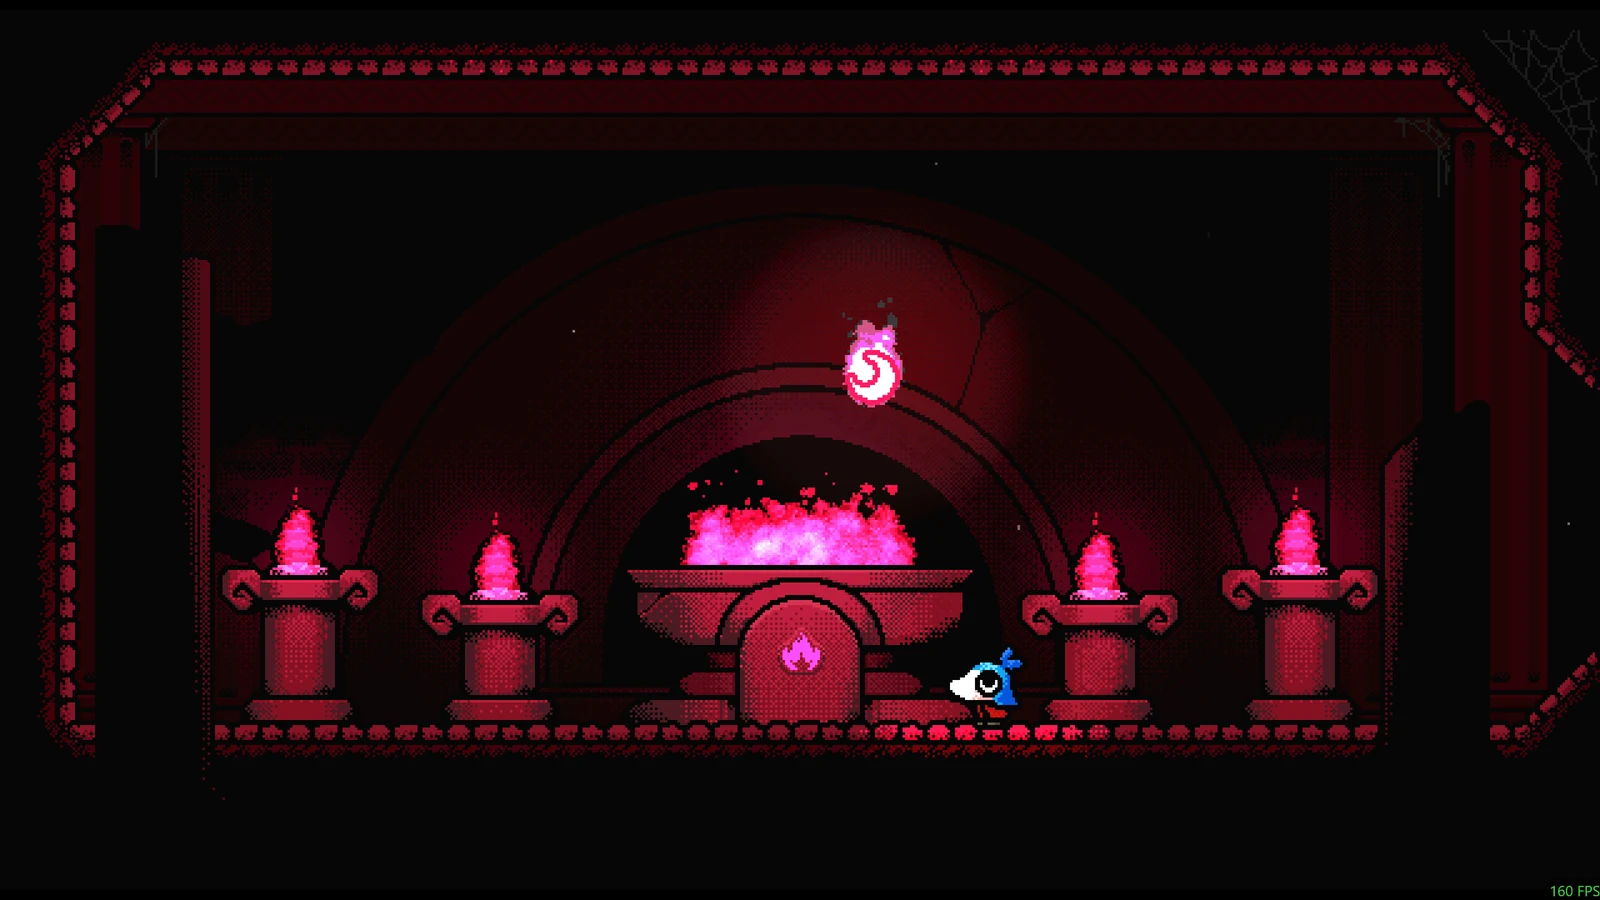
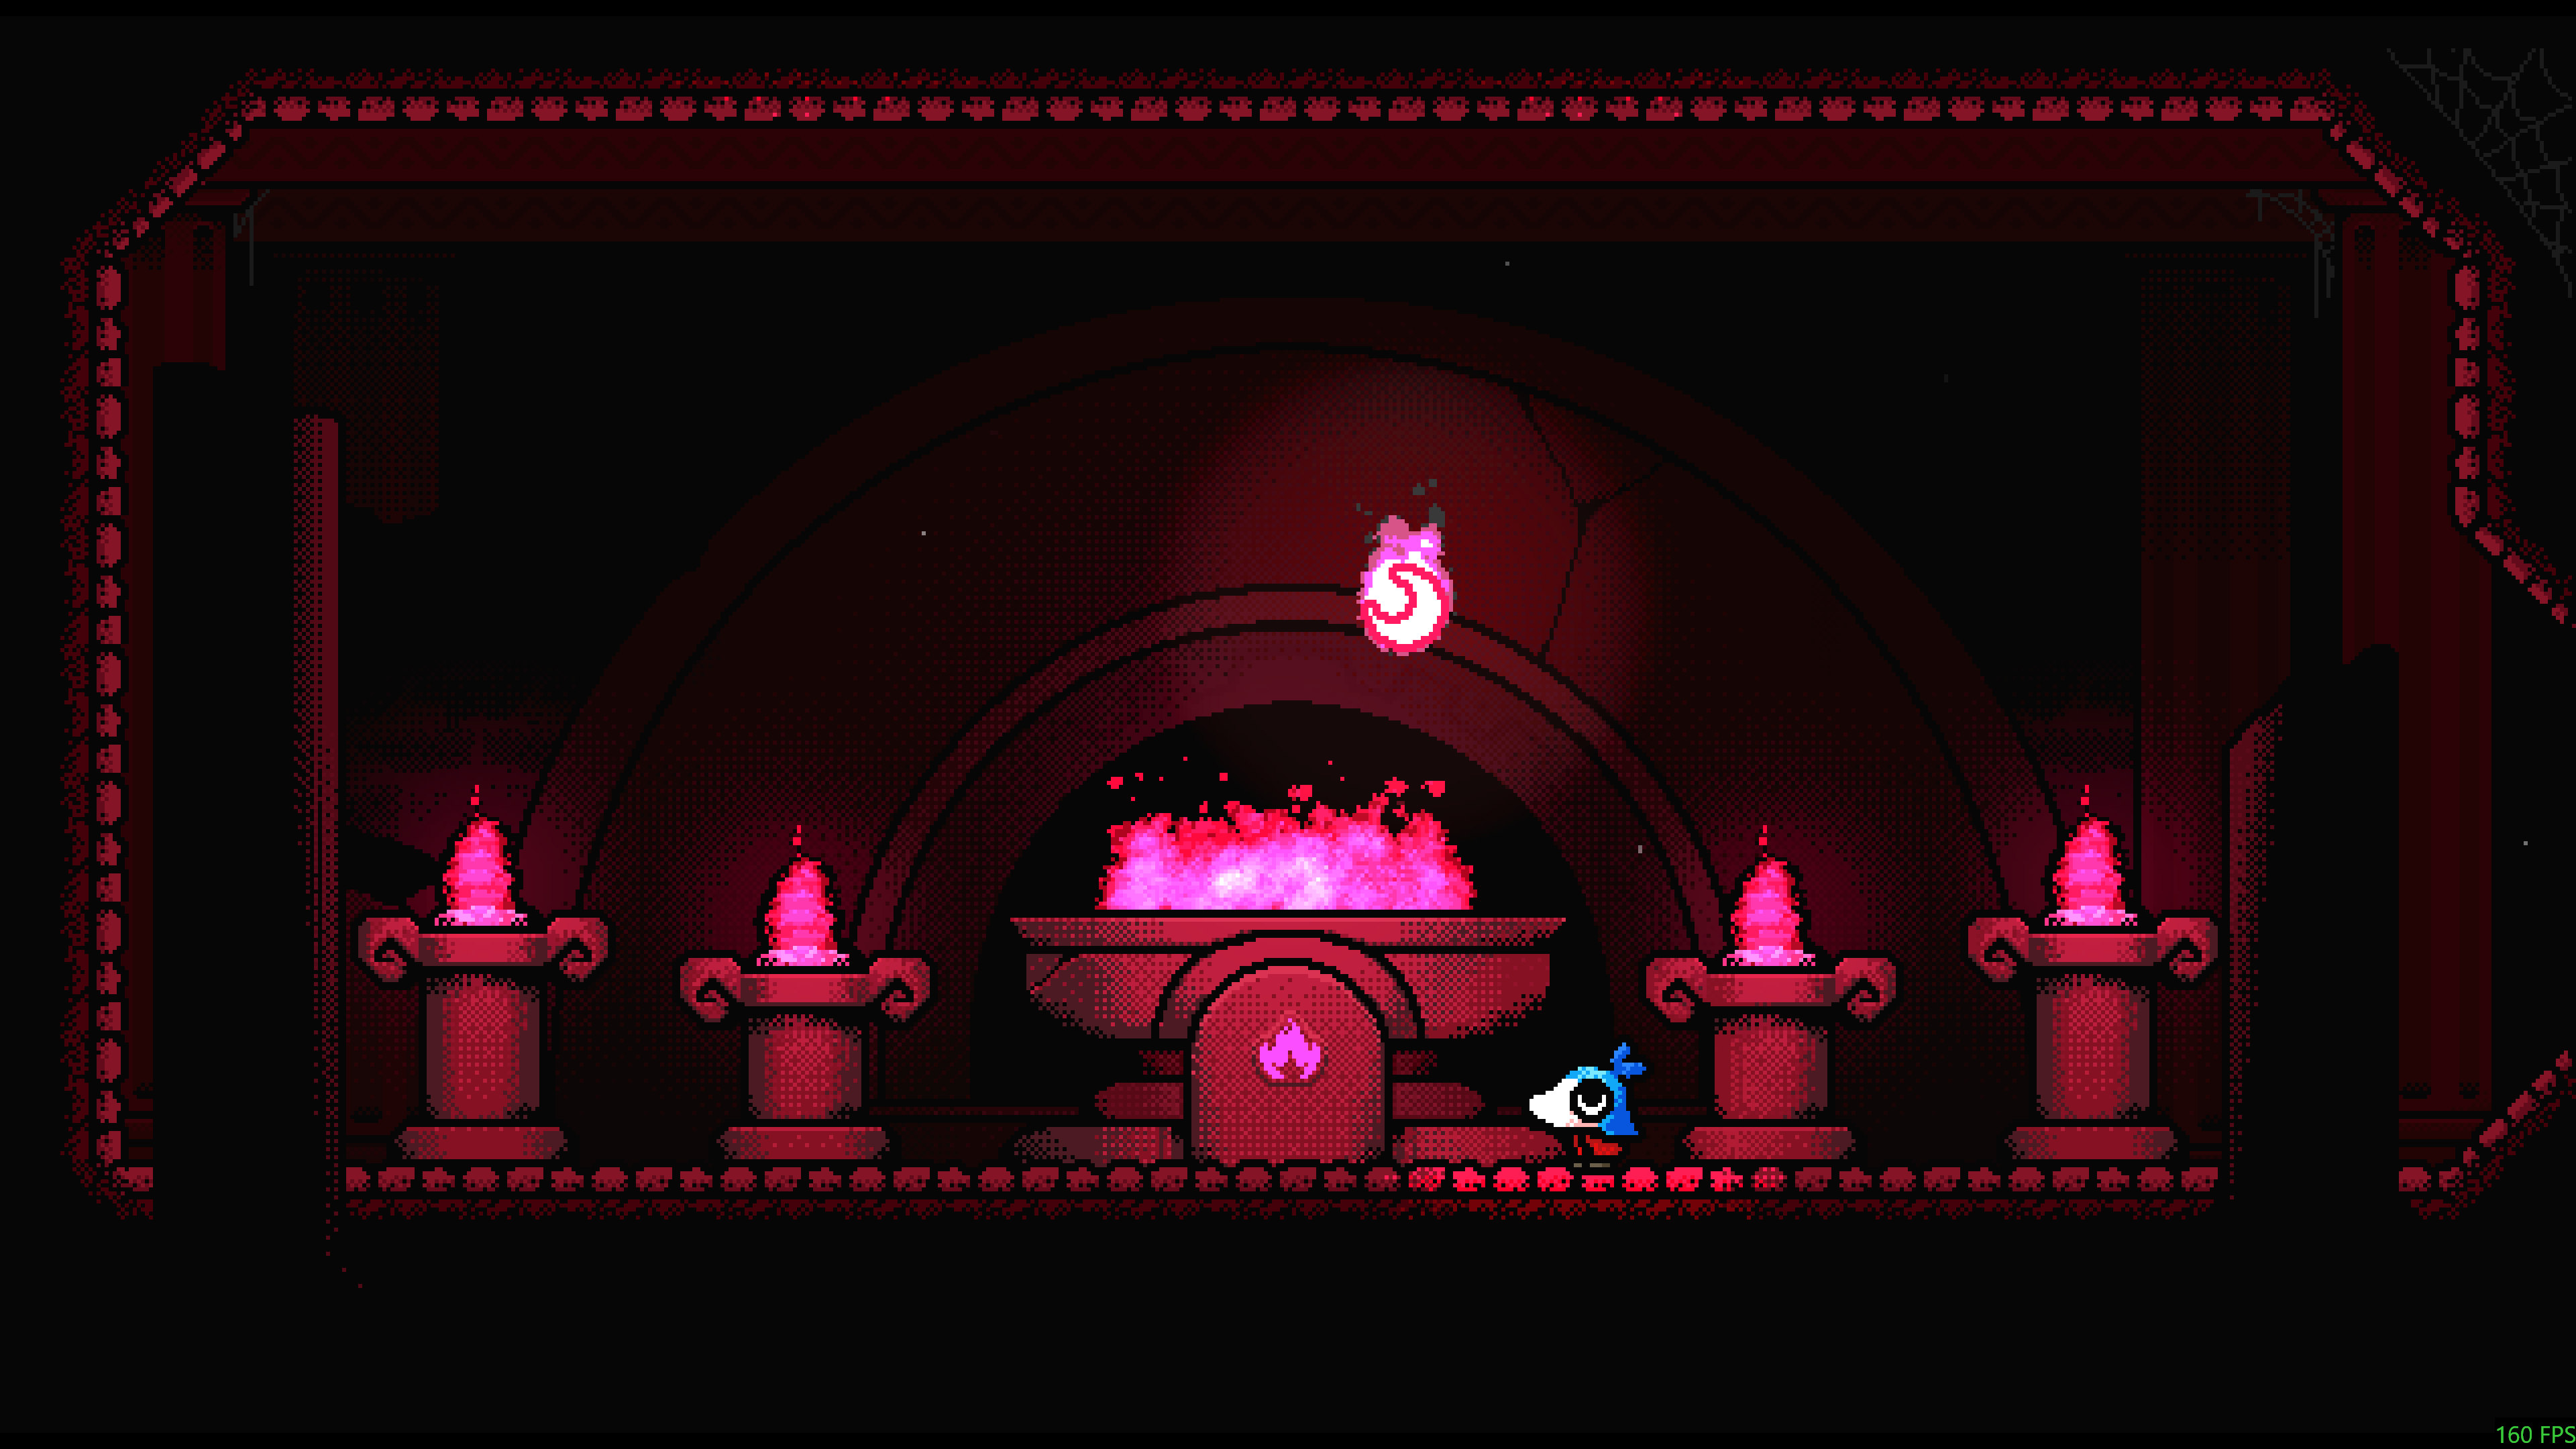
Light the fire pedestal at (17,04) and keep the moon burning red while reading the Tome. Hidden information appears on pages 13 and 8–9: these supply the elevator and painting inputs used below. Fire is time-limited. For the castle vines, set your save beside the vines before fetching fire; avoid another save point, then die from another cause while the moon is still burning to return with fire.
 Open full-size image ↗
The fire pedestal at (17,04). Keep the red moon lit while reading the relevant Tome pages. Steam screenshot: 文丶丶叔. Feather 1 · ride the elevator to the summit
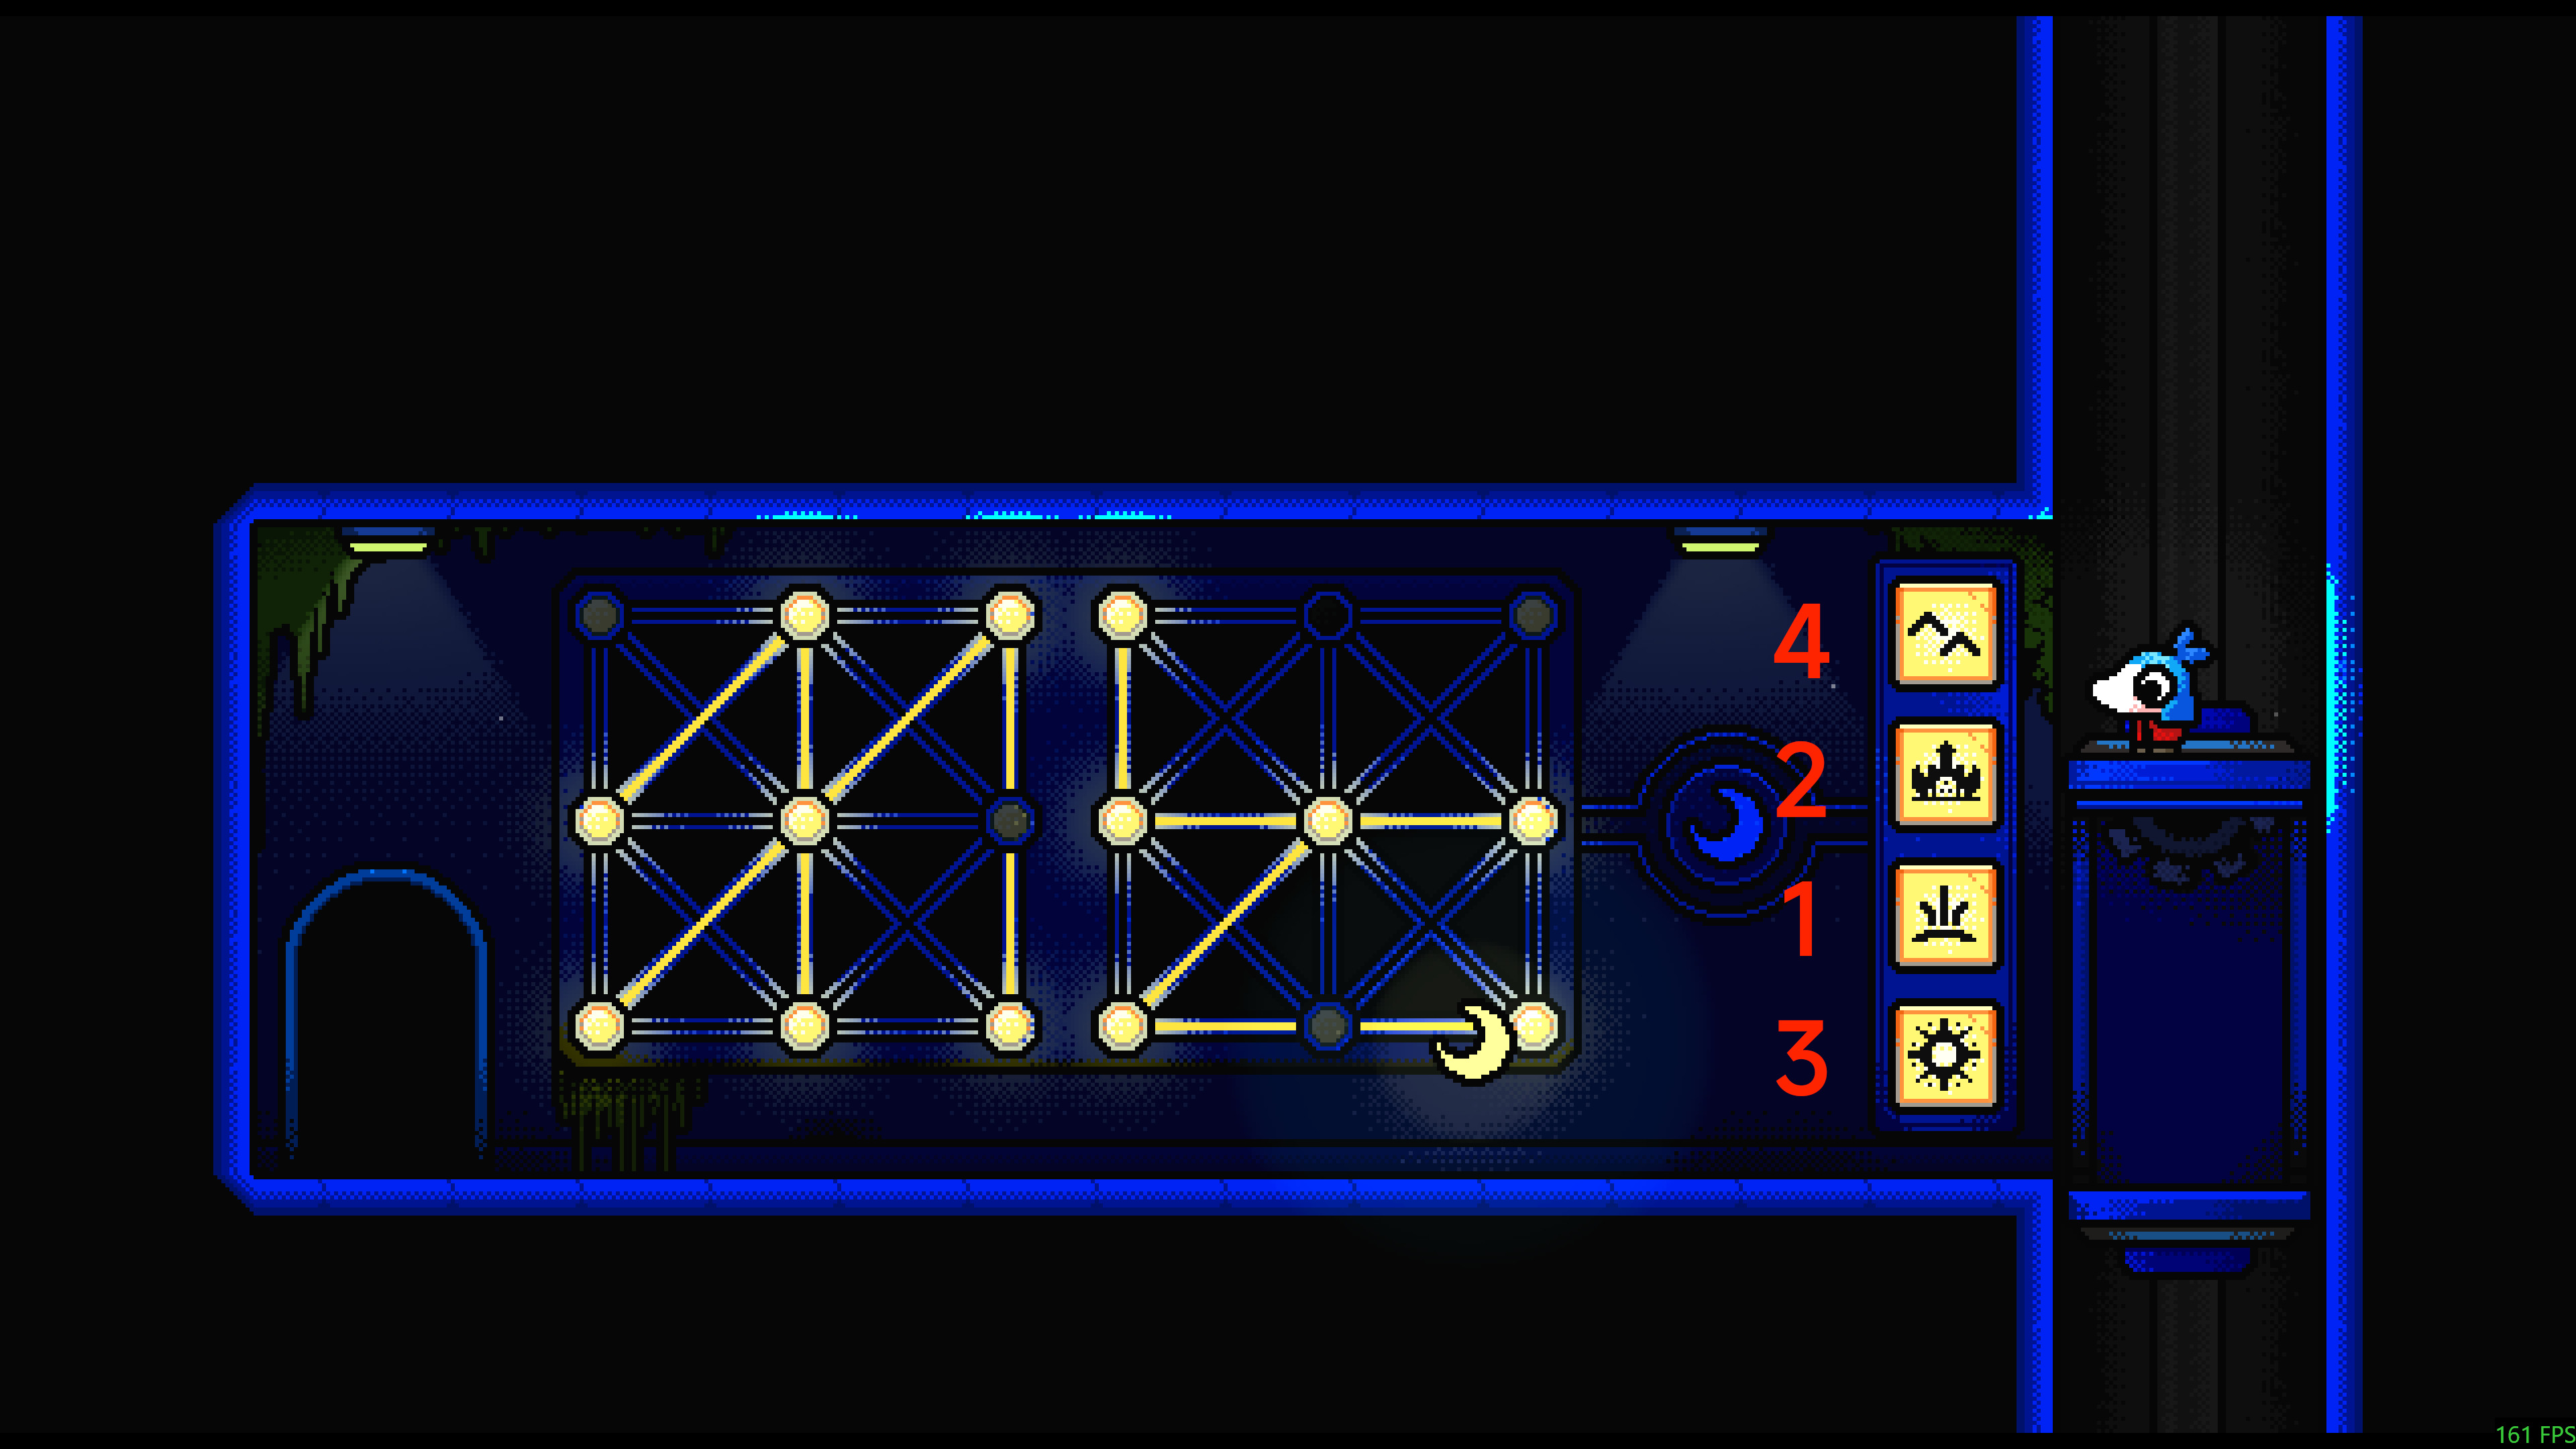
In the elevator, enter the number glyphs for 7 and 9. Operate the four right-side panels in the sequence 3 → 2 → 4 → 1, using the panel numbering in the picture below. When the elevator reaches the very top, activate moon form and jump or glide across to the opposite ledge.
 Open full-size image ↗
Press 3, 2, 4, 1 by these labels. The top-to-bottom labels are 4, 2, 1, 3; the sequence is not a top-to-bottom count. Annotation and screenshot: 文丶丶叔. Feather 1 · cross from the upper platform
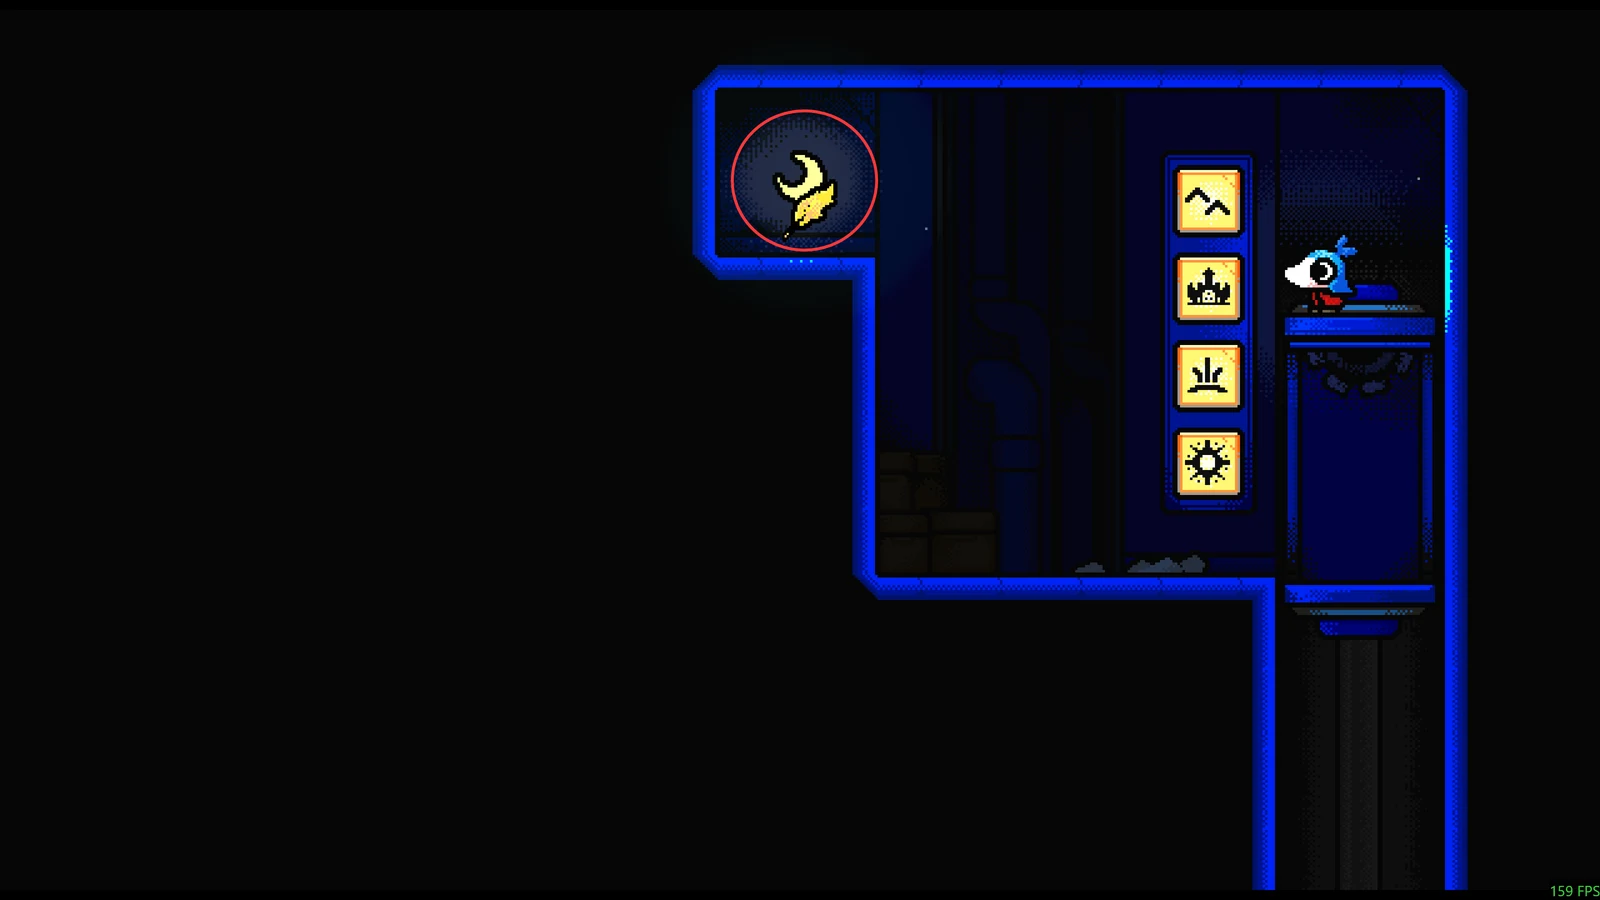
Use moon form at the elevator summit to cross the gap. The screenshot marks the destination on the opposite ledge; the feather is not inside the control panel.
 Open full-size image ↗
The feather sits across the gap from the elevator’s top stop. Original route screenshot: 文丶丶叔. Feather 2 · summon the ninth painting
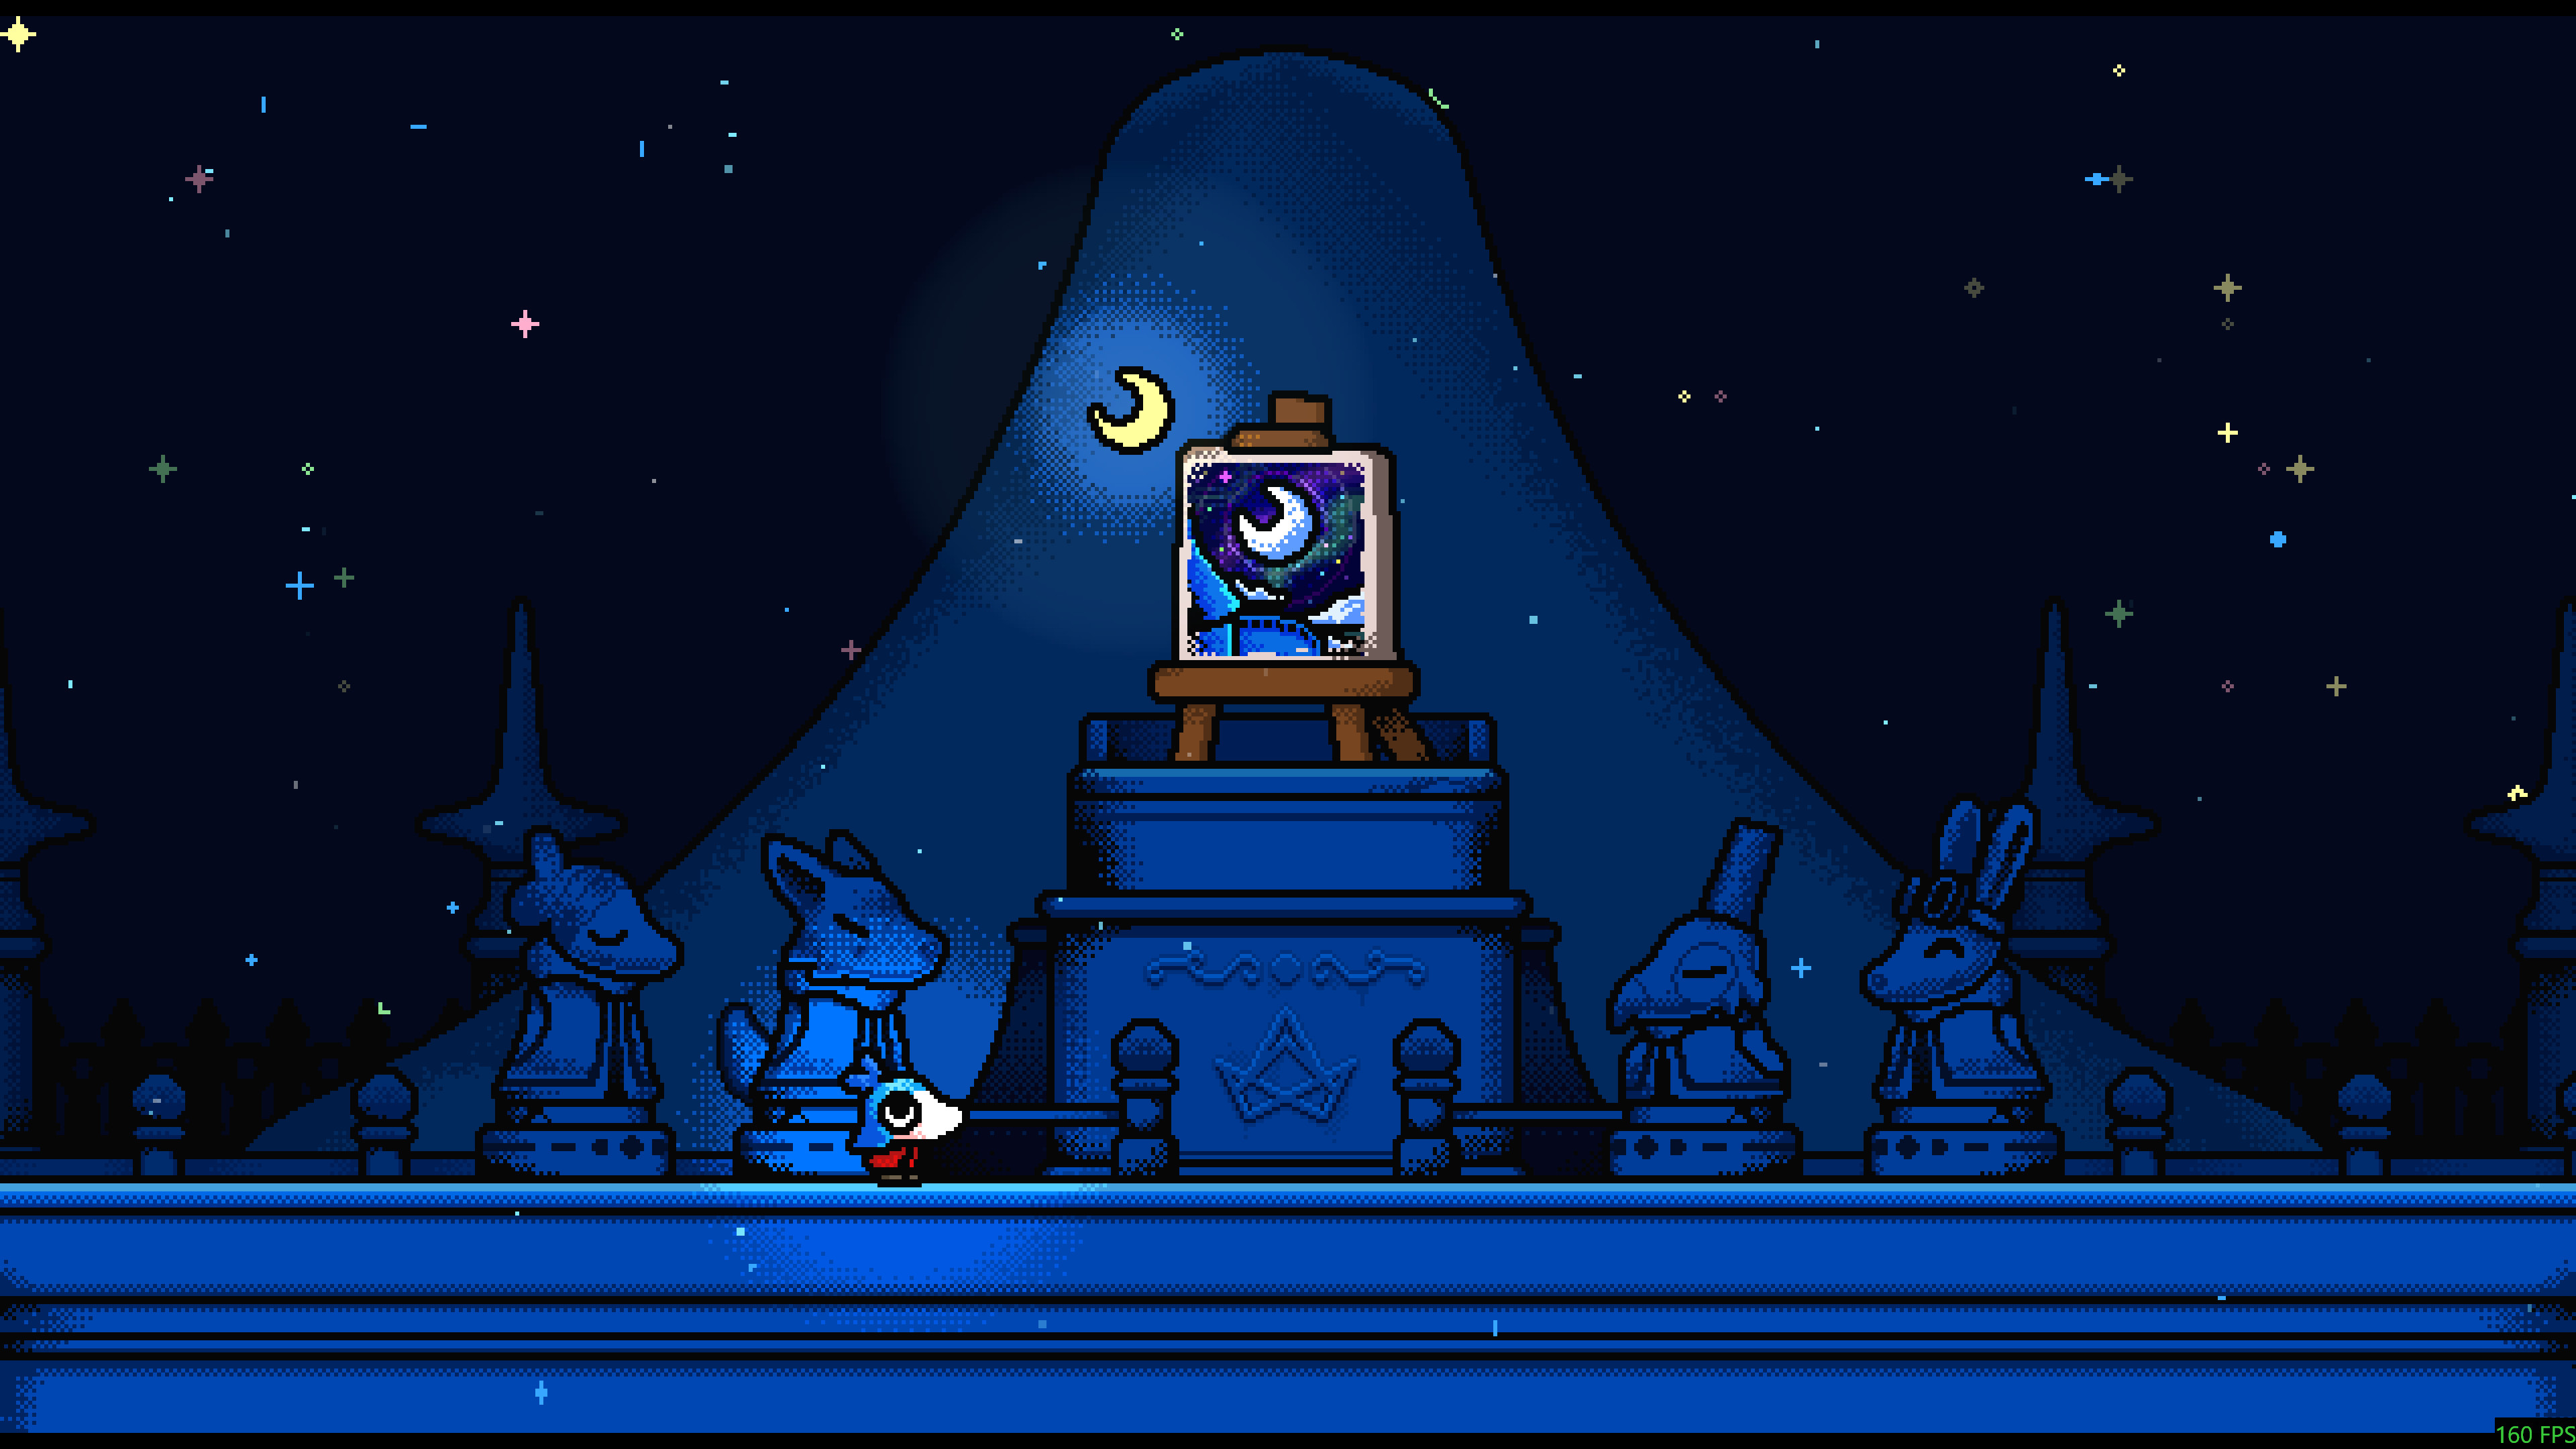
Read Tome pages 8–9 beneath red moonlight, then play the following eight notes at (16,18): 1 right → 3 up → 2 right → 2 down → 3 left → 3 down → 1 up → 1 left. This summons the ninth painting. The number is the harp string; the direction is the direction to pluck it.
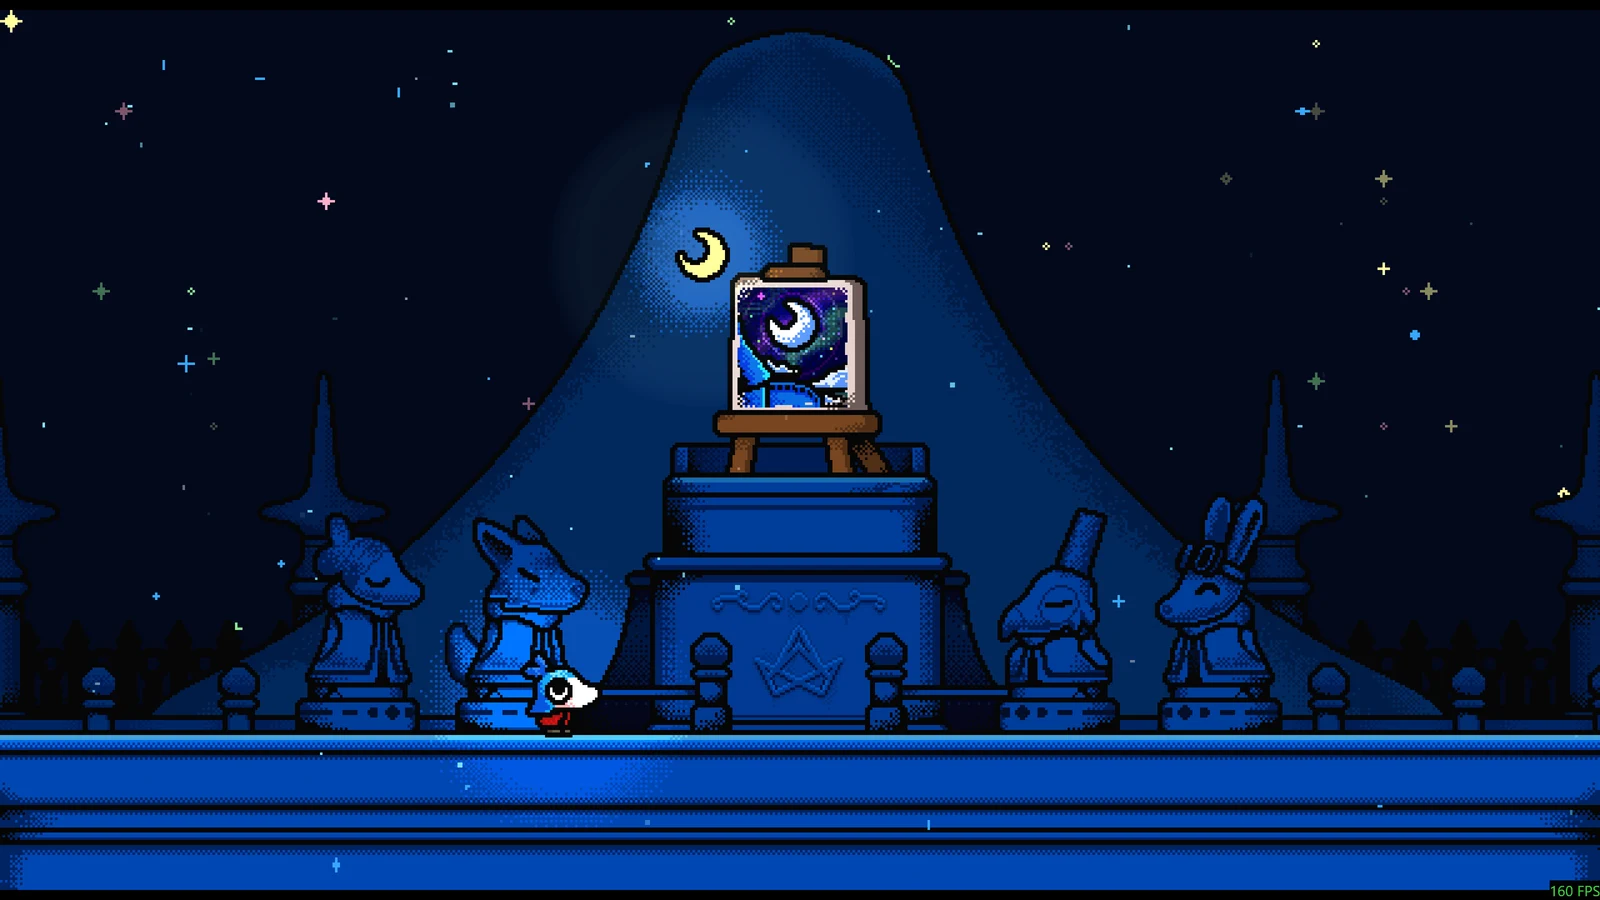 Open full-size image ↗
Play the sequence in this room at (16,18), rather than at a different harp. Steam screenshot: 文丶丶叔. Ninth painting song Note String Direction 1 1 Right 2 3 Up 3 2 Right 4 2 Down 5 3 Left 6 3 Down 7 1 Up 8 1 Left Feather 2 · clear the vines and build speed
At (13,18), burn away the vines using the red-moon return described above. Enter moon form in (14,18). Roll into the second small slope in (15,18), then hold Jump to glide onward. Use that speed to reach the painting at (16,18) and enter it.
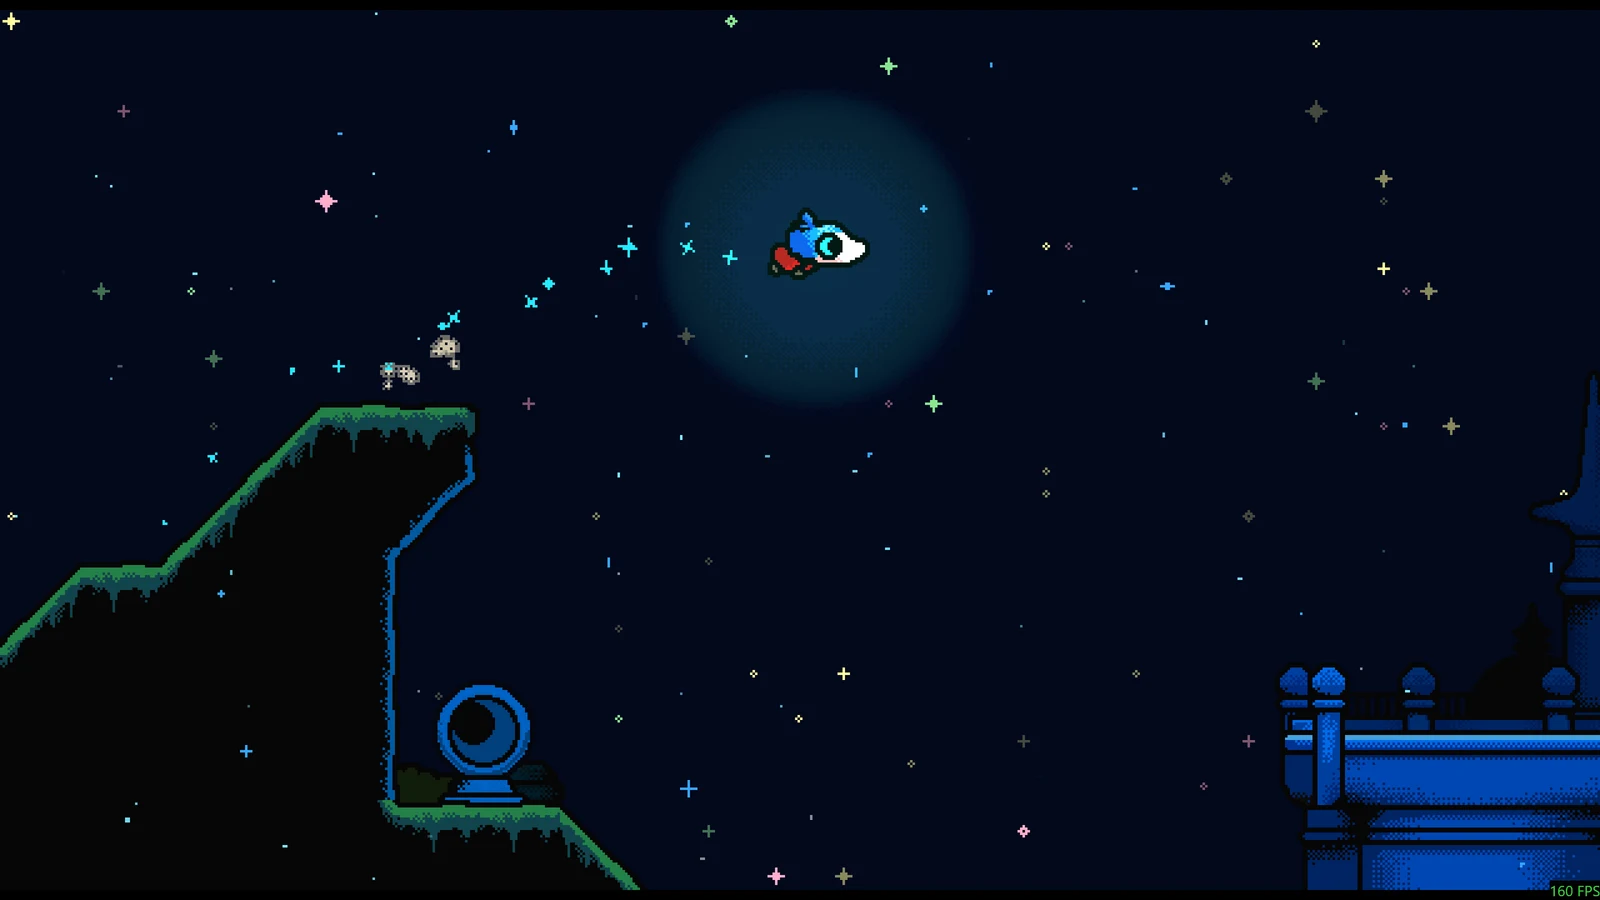 Open full-size image ↗
Roll into this second small slope at (15,18), then hold Jump. The next room to the right holds the painting. Steam screenshot: 文丶丶叔. Feather 2 · enter the painting
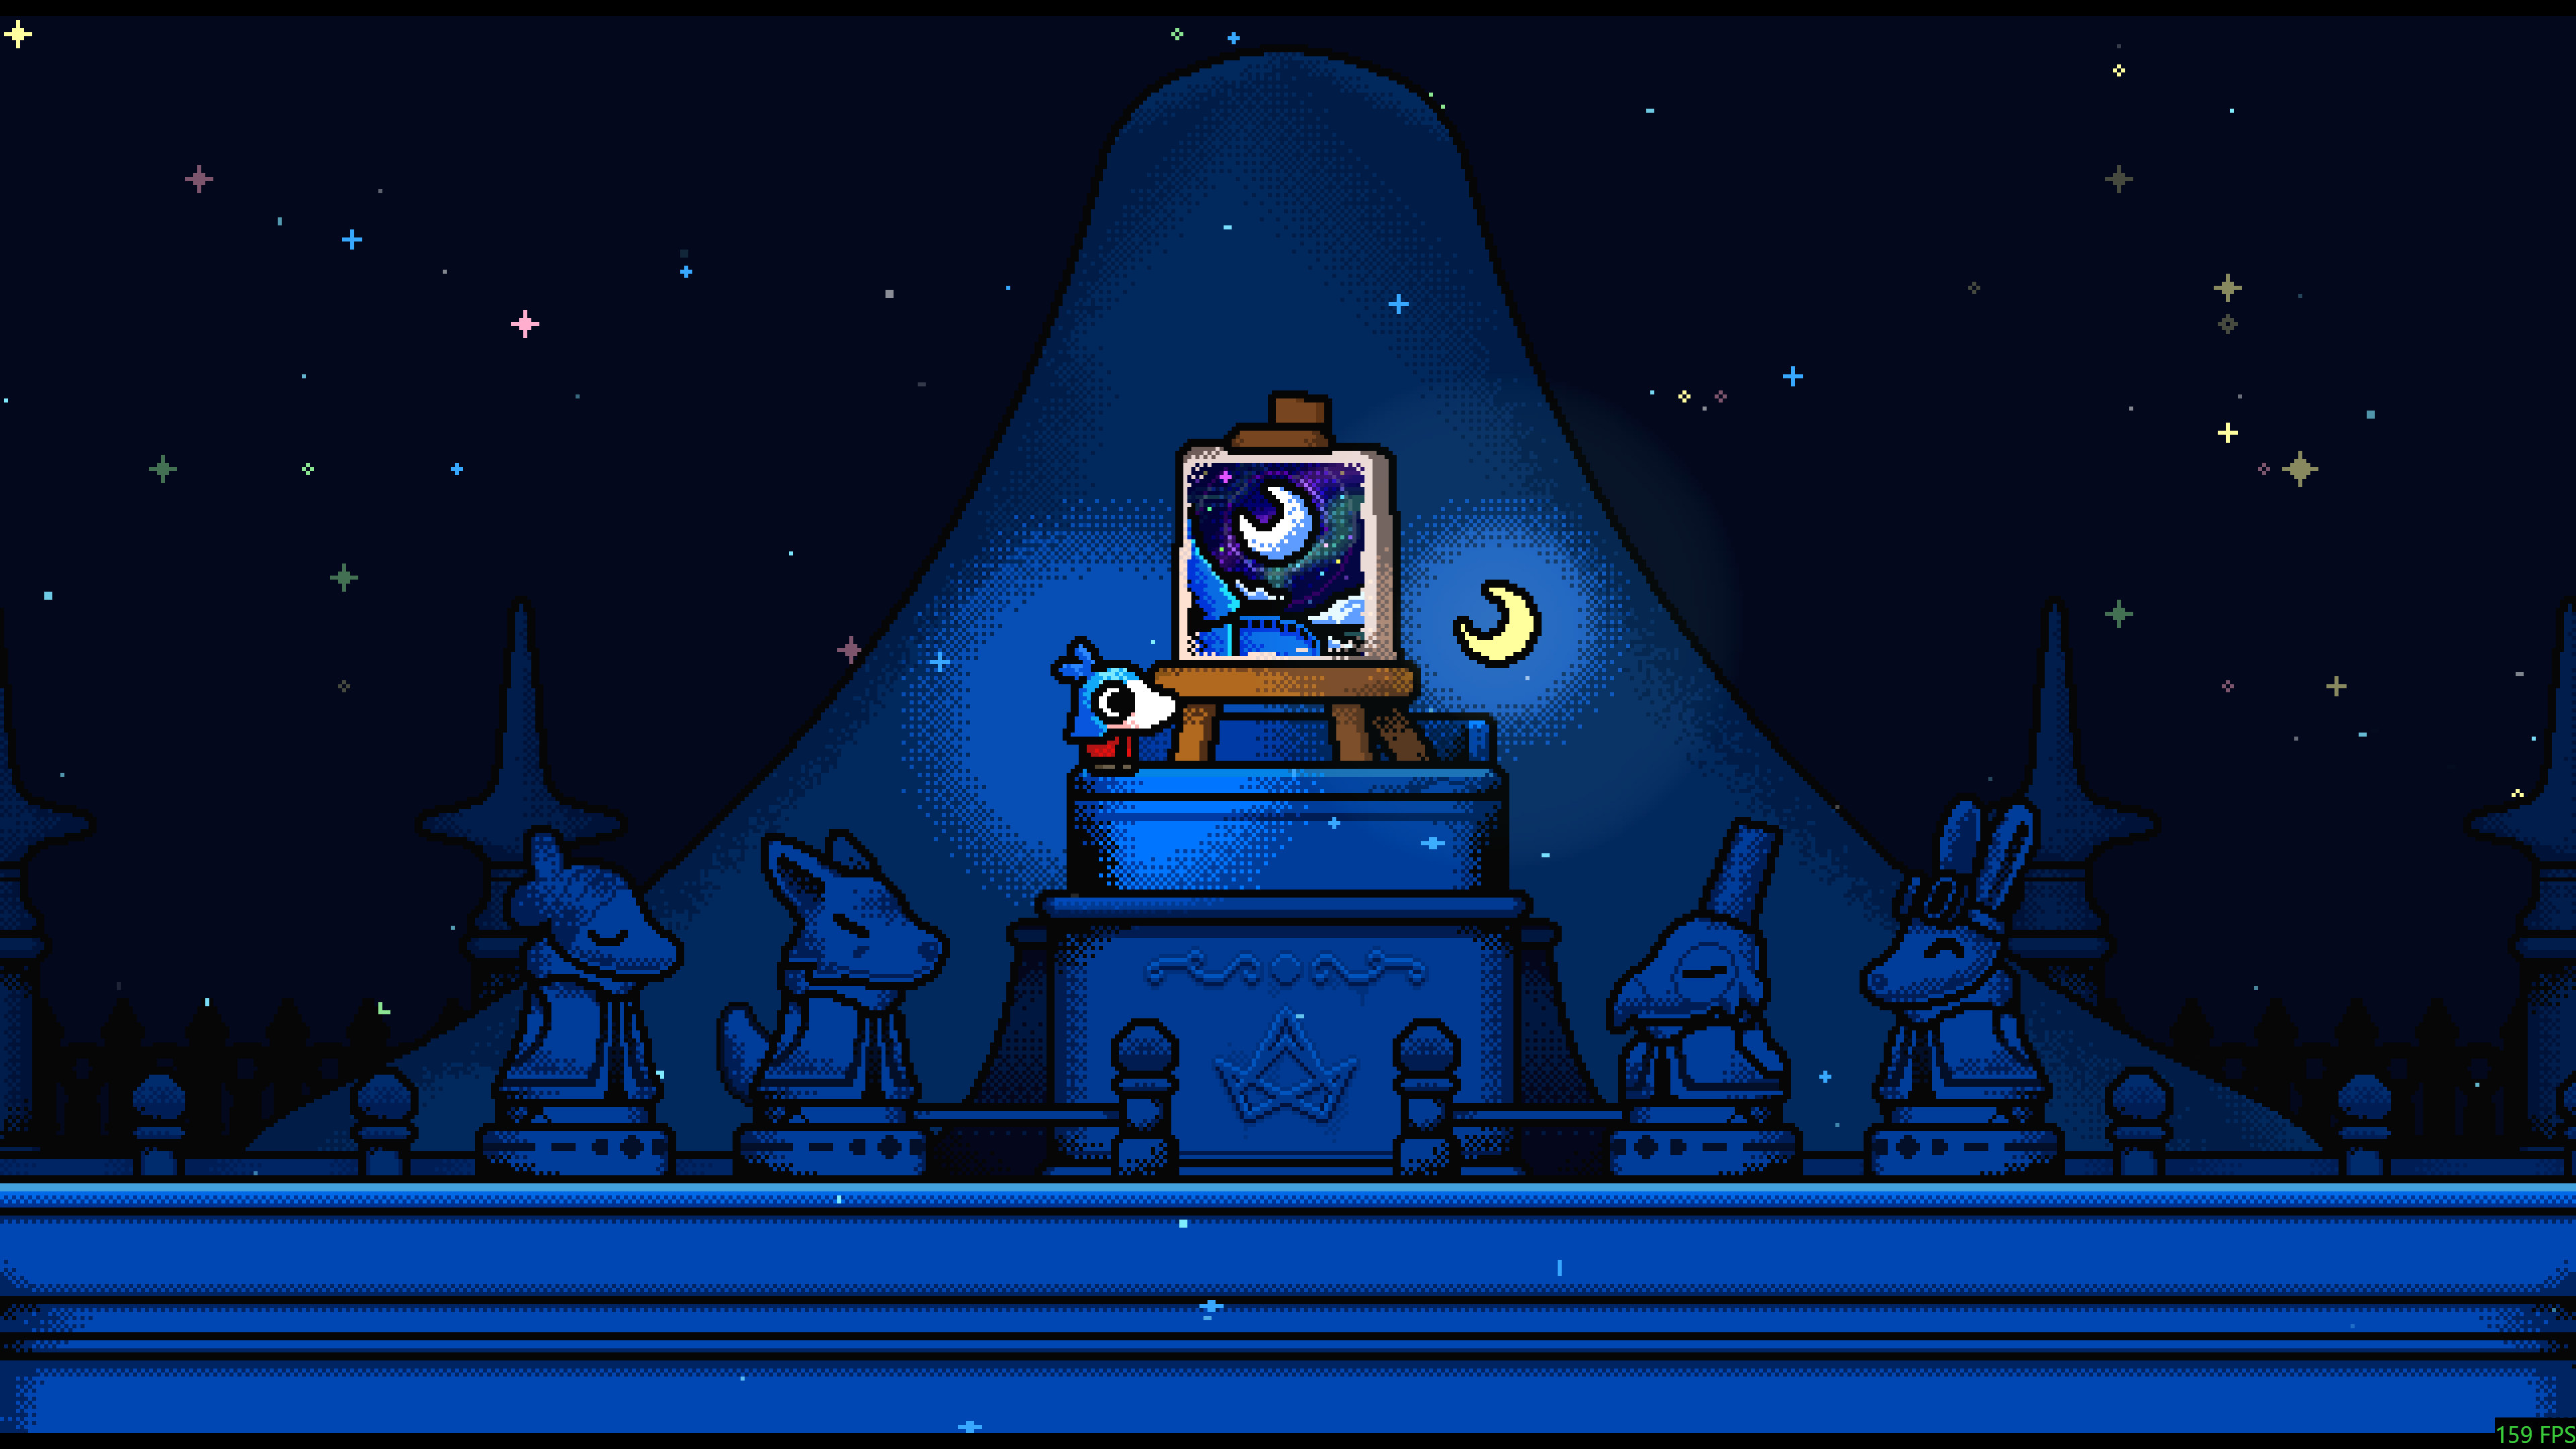
Reach the high painting at (16,18) with the glide from the previous room. Enter the painting and collect the golden feather in the room it leads to.
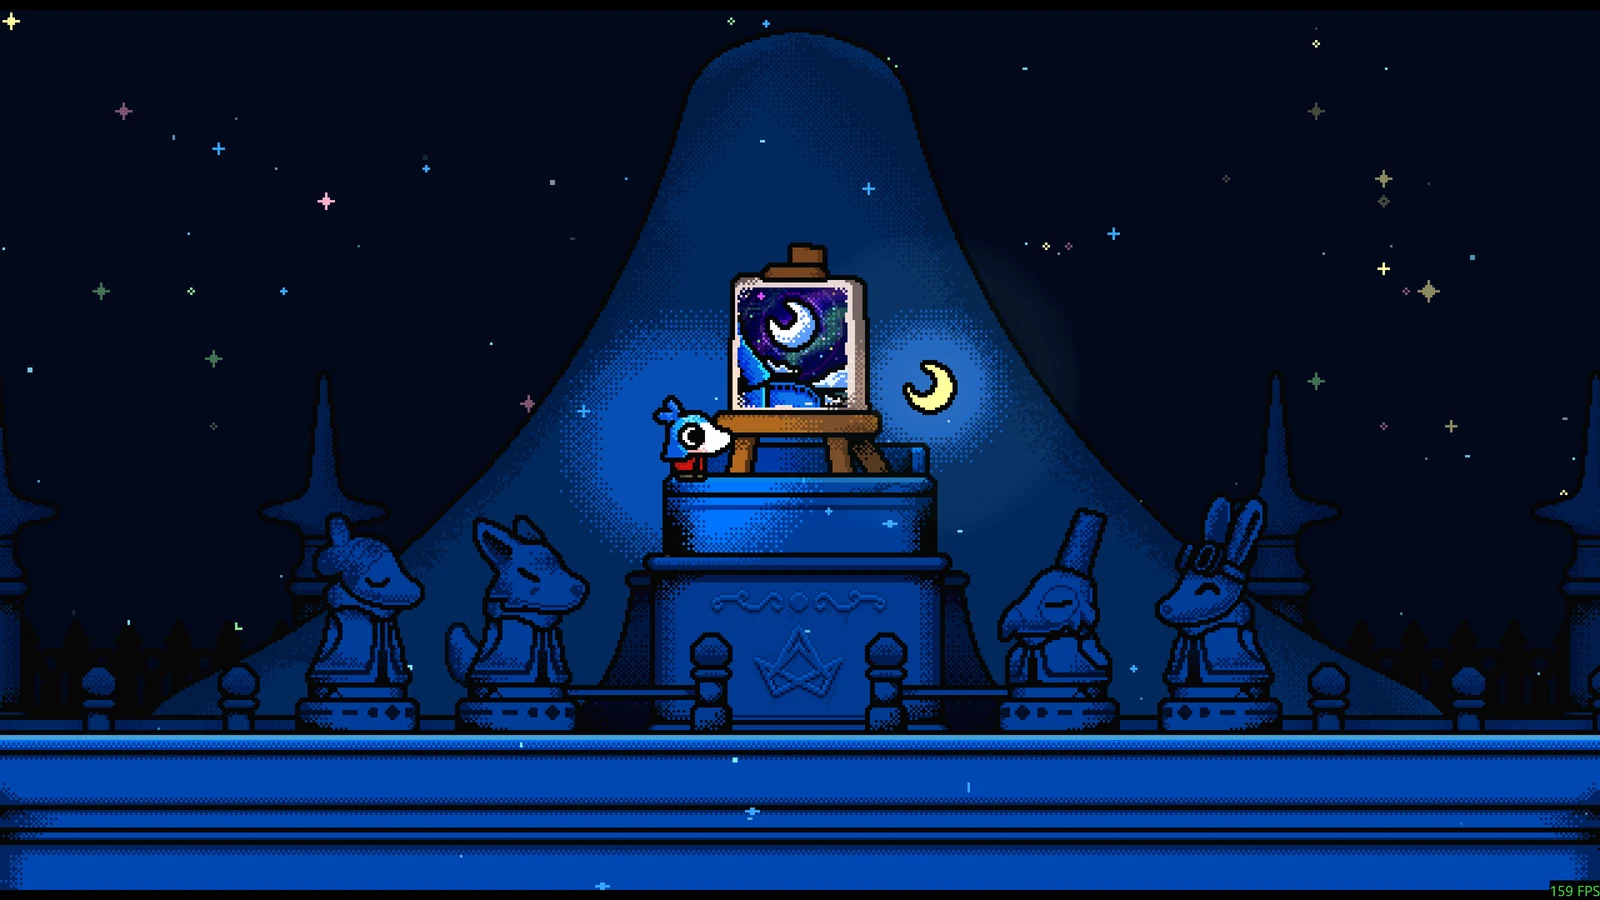 Open full-size image ↗
The high painting is the entrance, not the feather itself. Steam screenshot: 文丶丶叔. Feather 3 · glide across the ice ledges
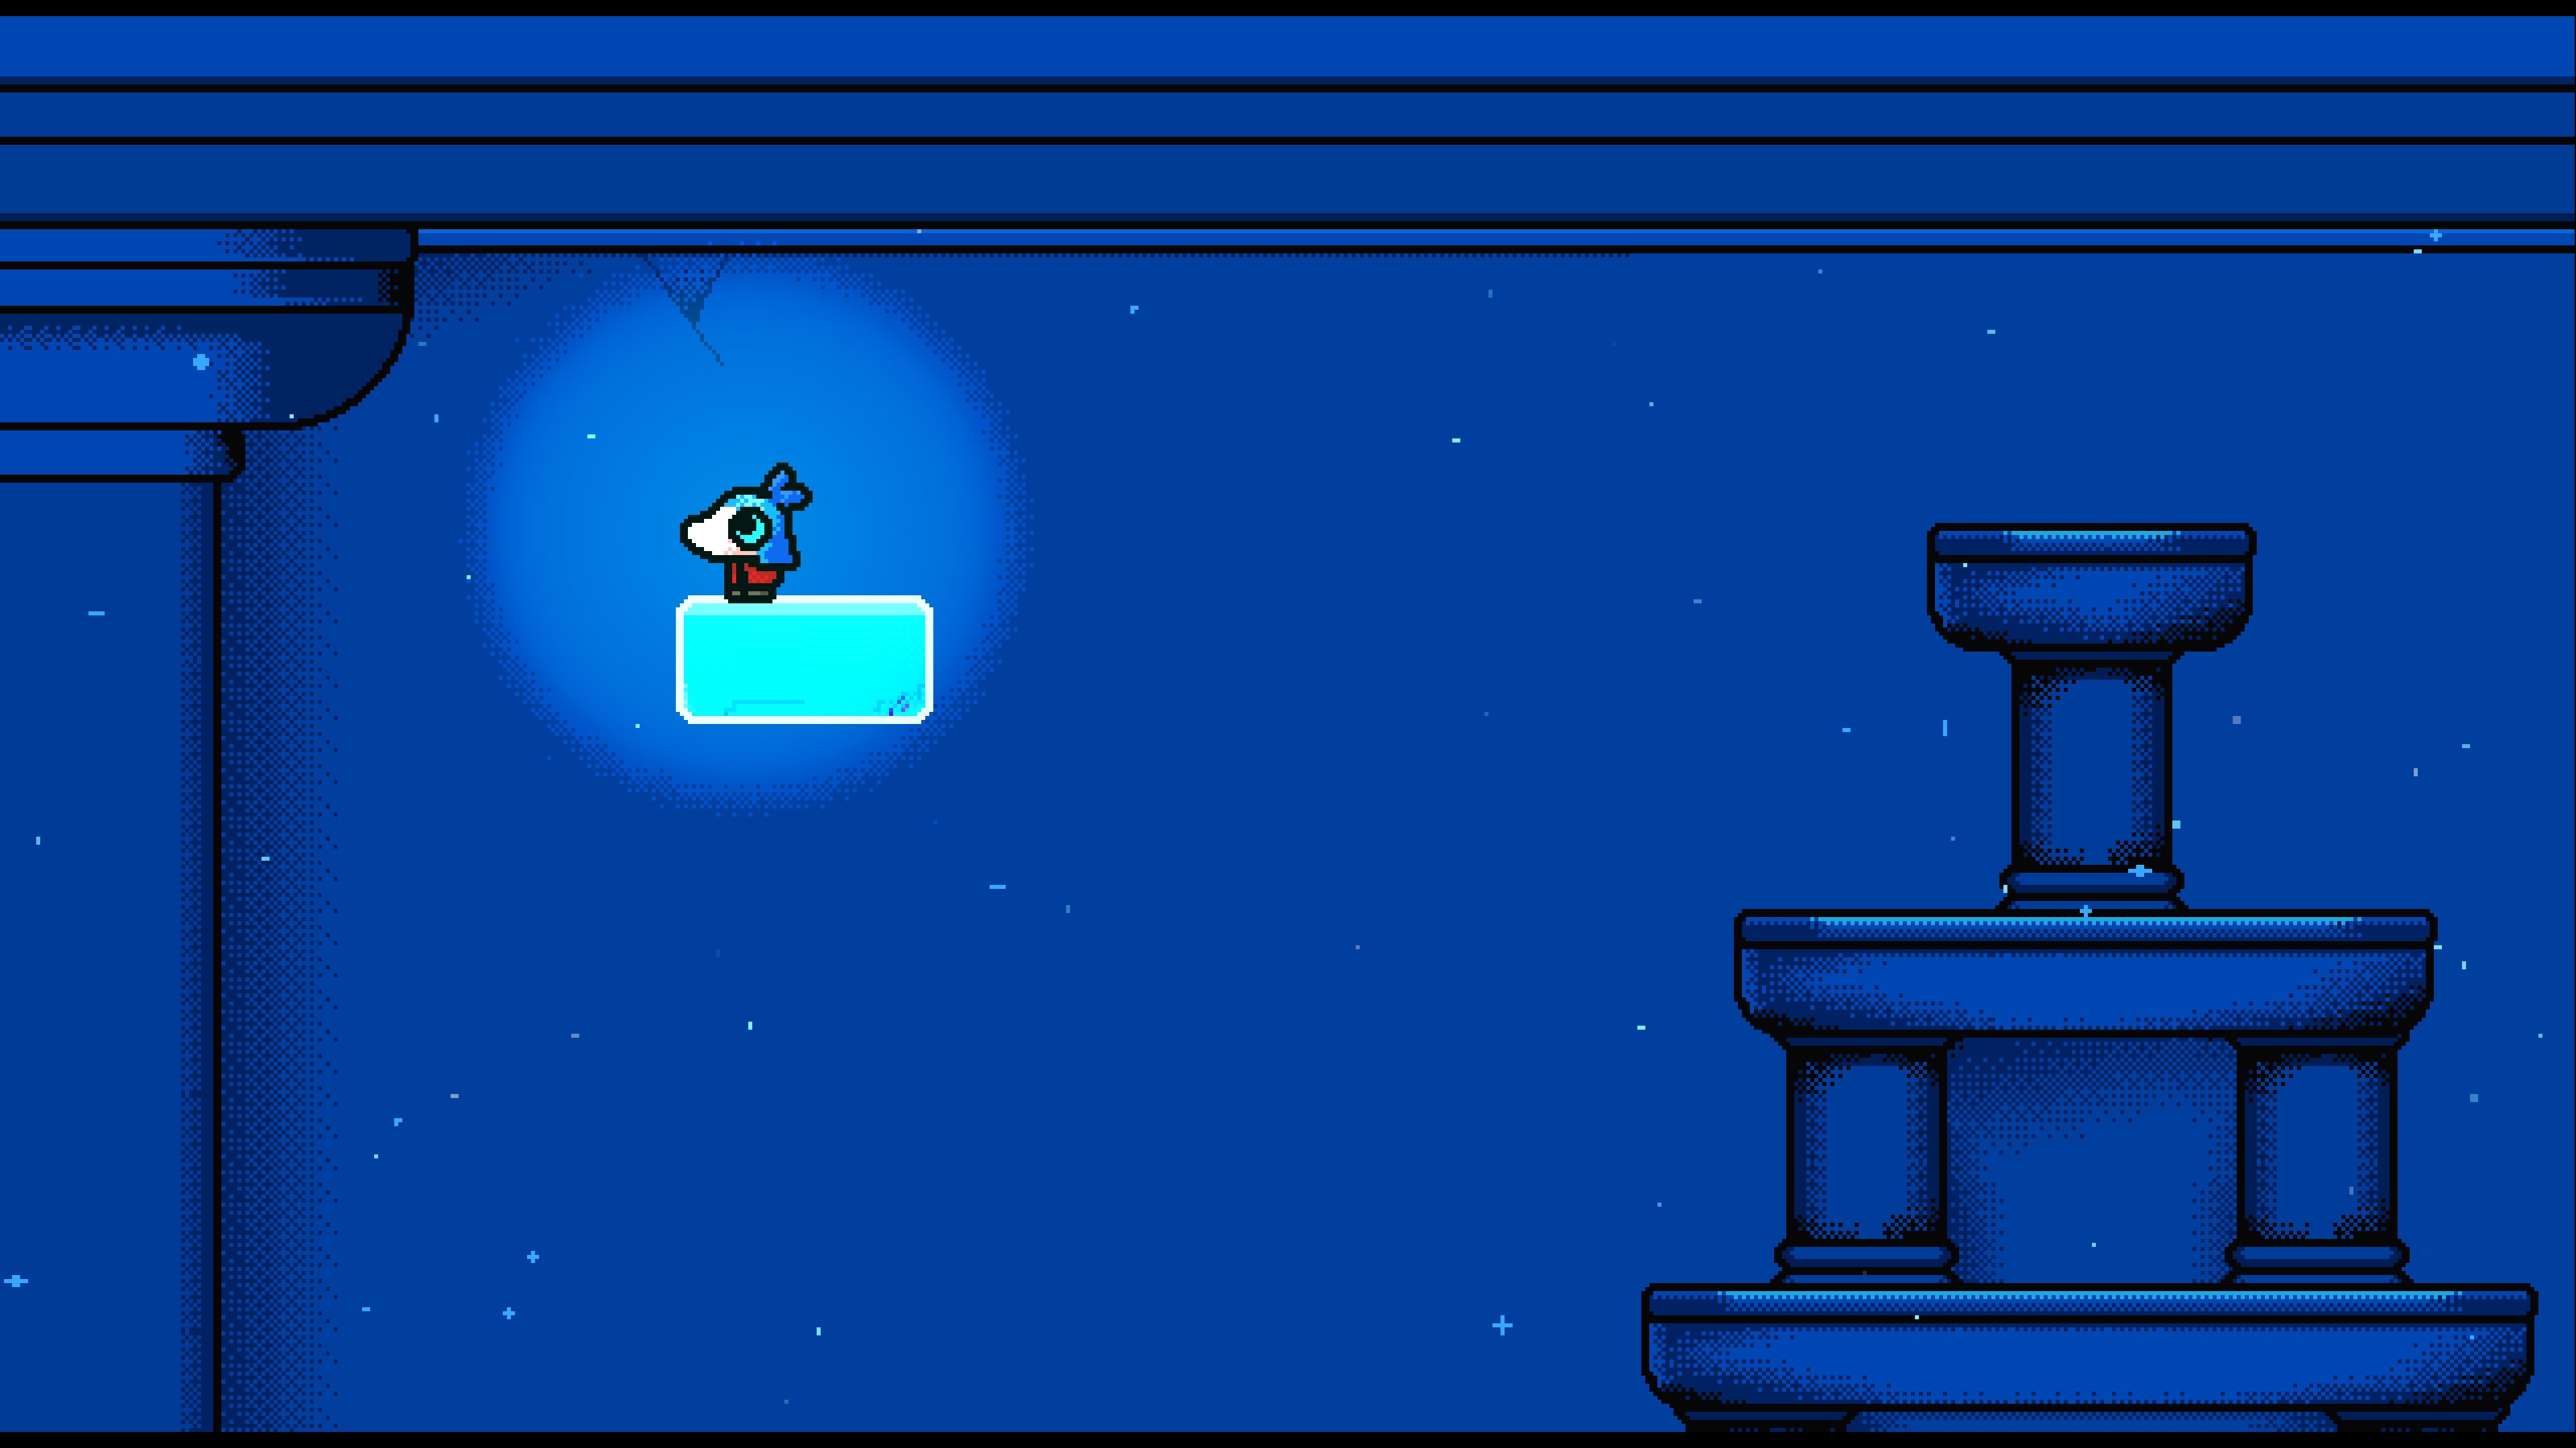
Start at (18,14) in moon form. Glide from the slope into (17,14), keep moon form across the room transition, and reach the topmost ledge. From there, glide left into (16,14) for the feather.
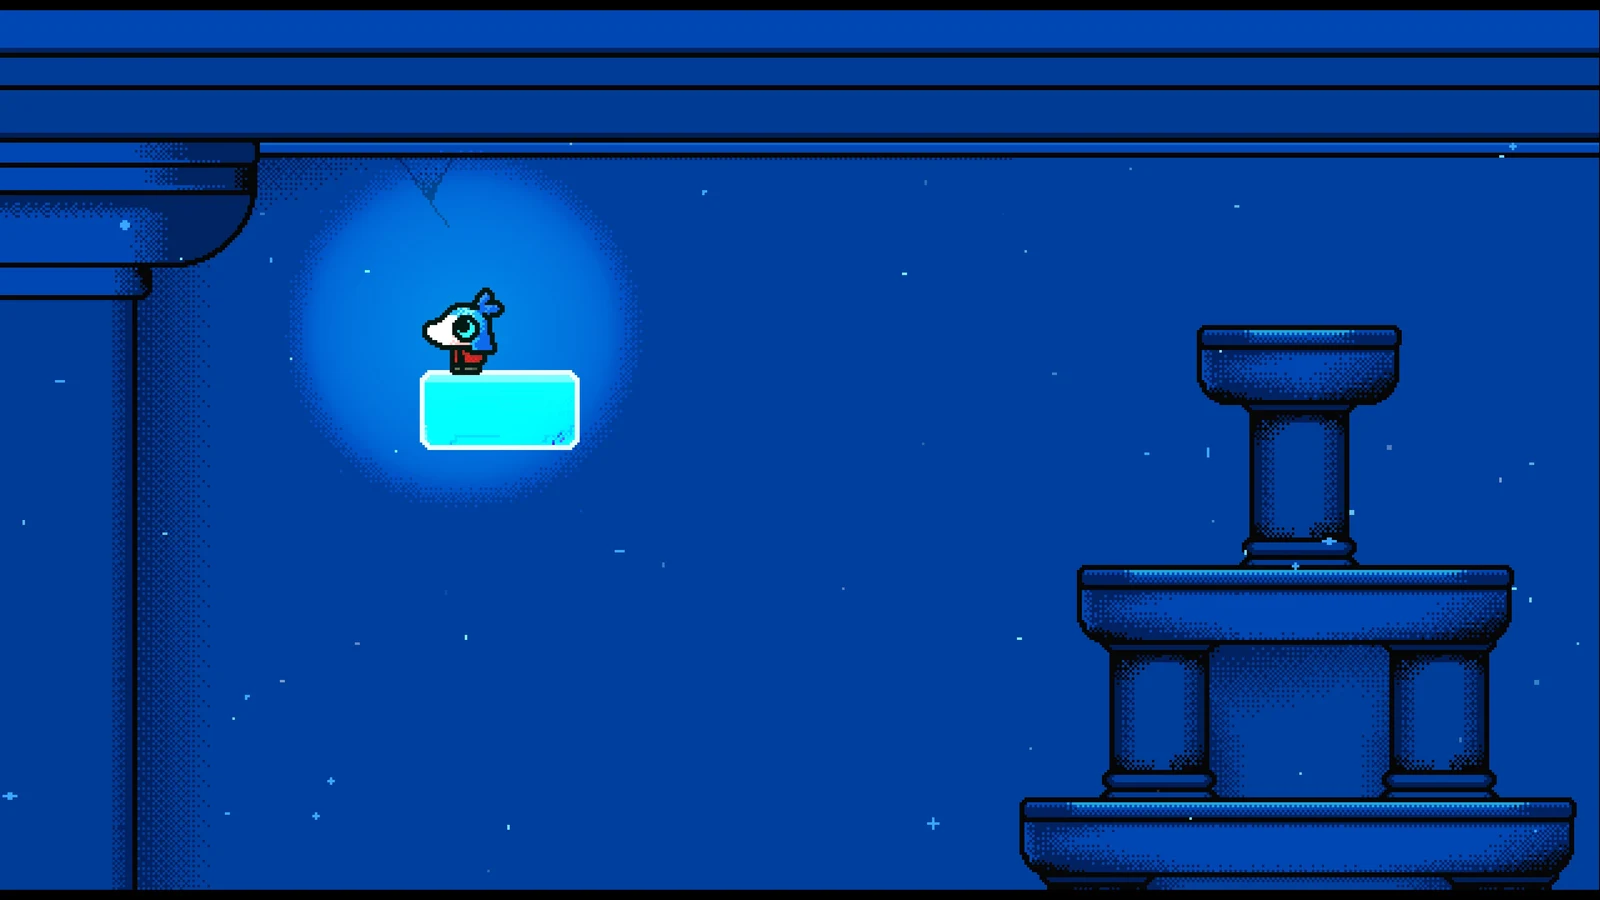 Open full-size image ↗
Keep the glide going through (17,14); climb to the upper ledge before crossing left. Steam screenshot: 文丶丶叔. Feather 3 · aim for the upper feather
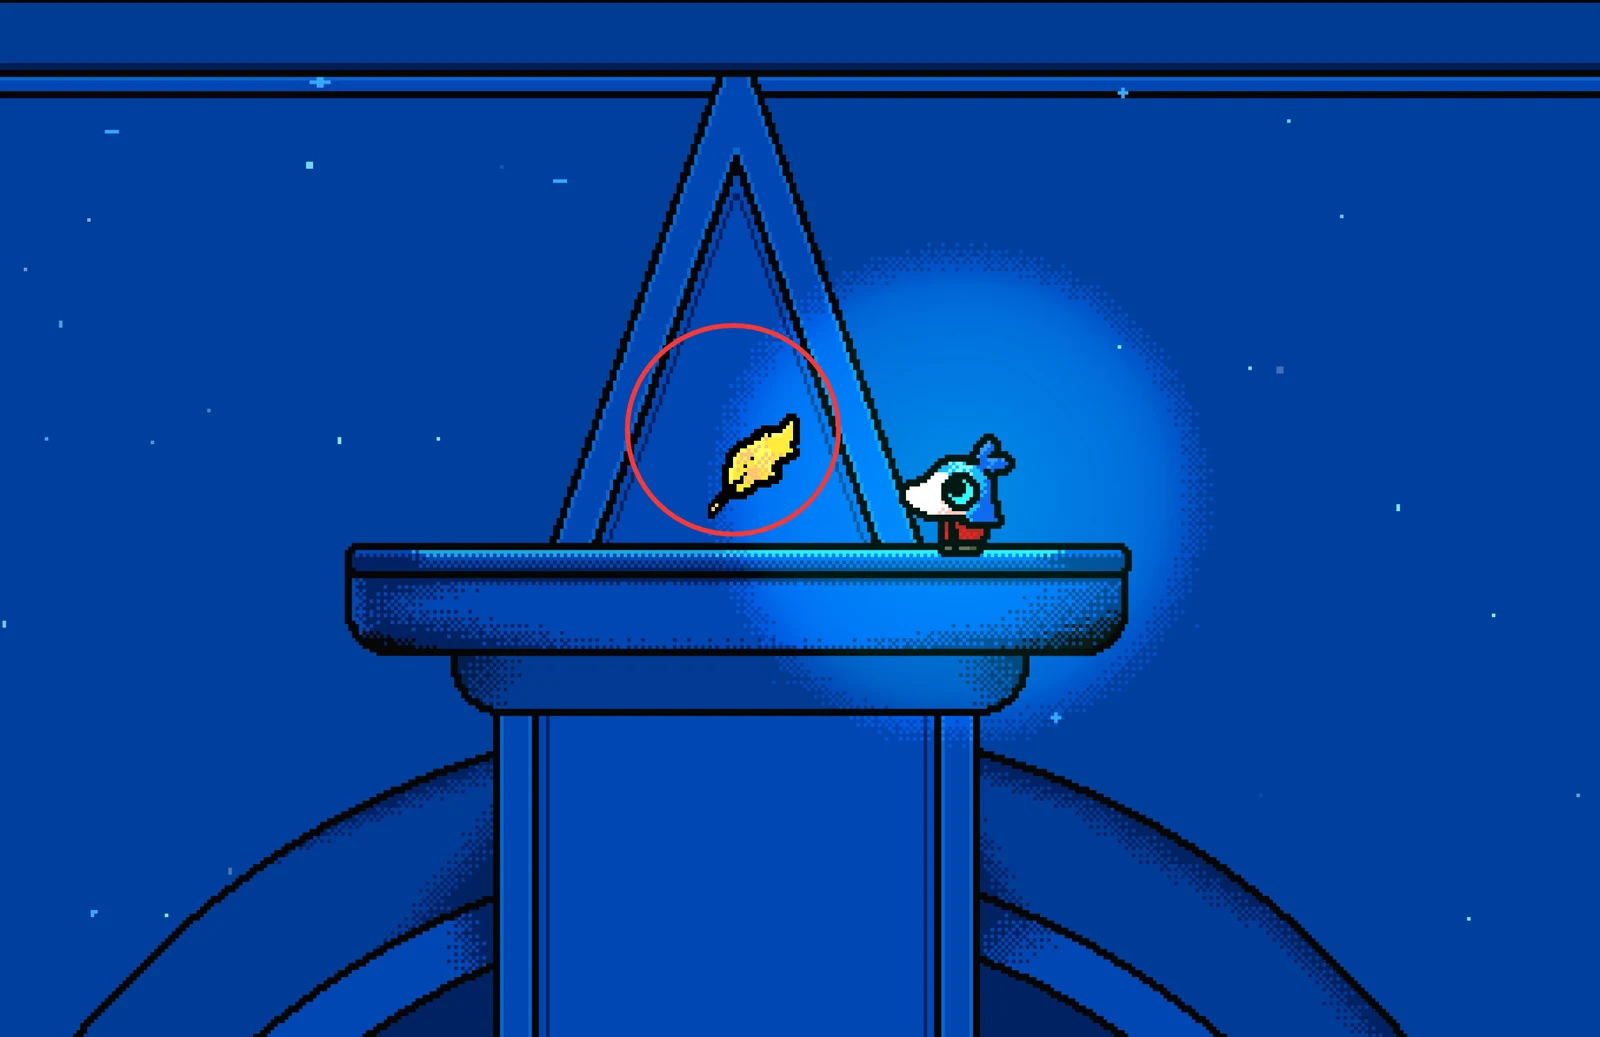
The goal is the golden feather at the top of the stepped route, not a lower opening. If you lose height early, return to the slope in (18,14) and rebuild the glide.
 Open full-size image ↗
The source’s close view identifies the feather at the upper end of the route. Steam screenshot: 文丶丶叔. Feather 4 · use the eye-room glide
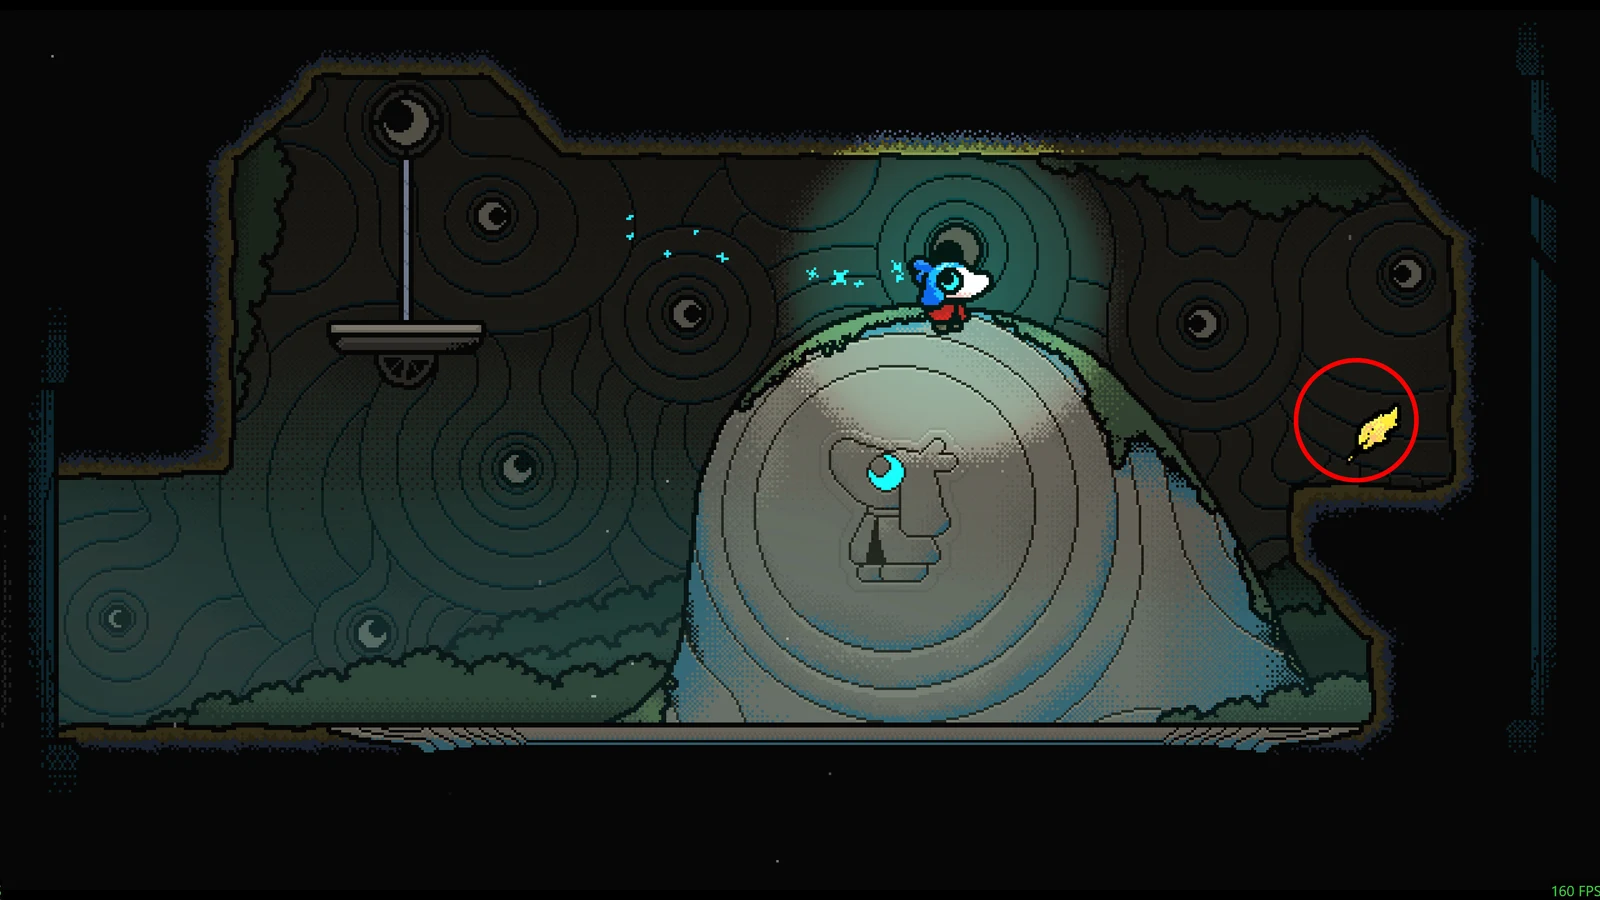
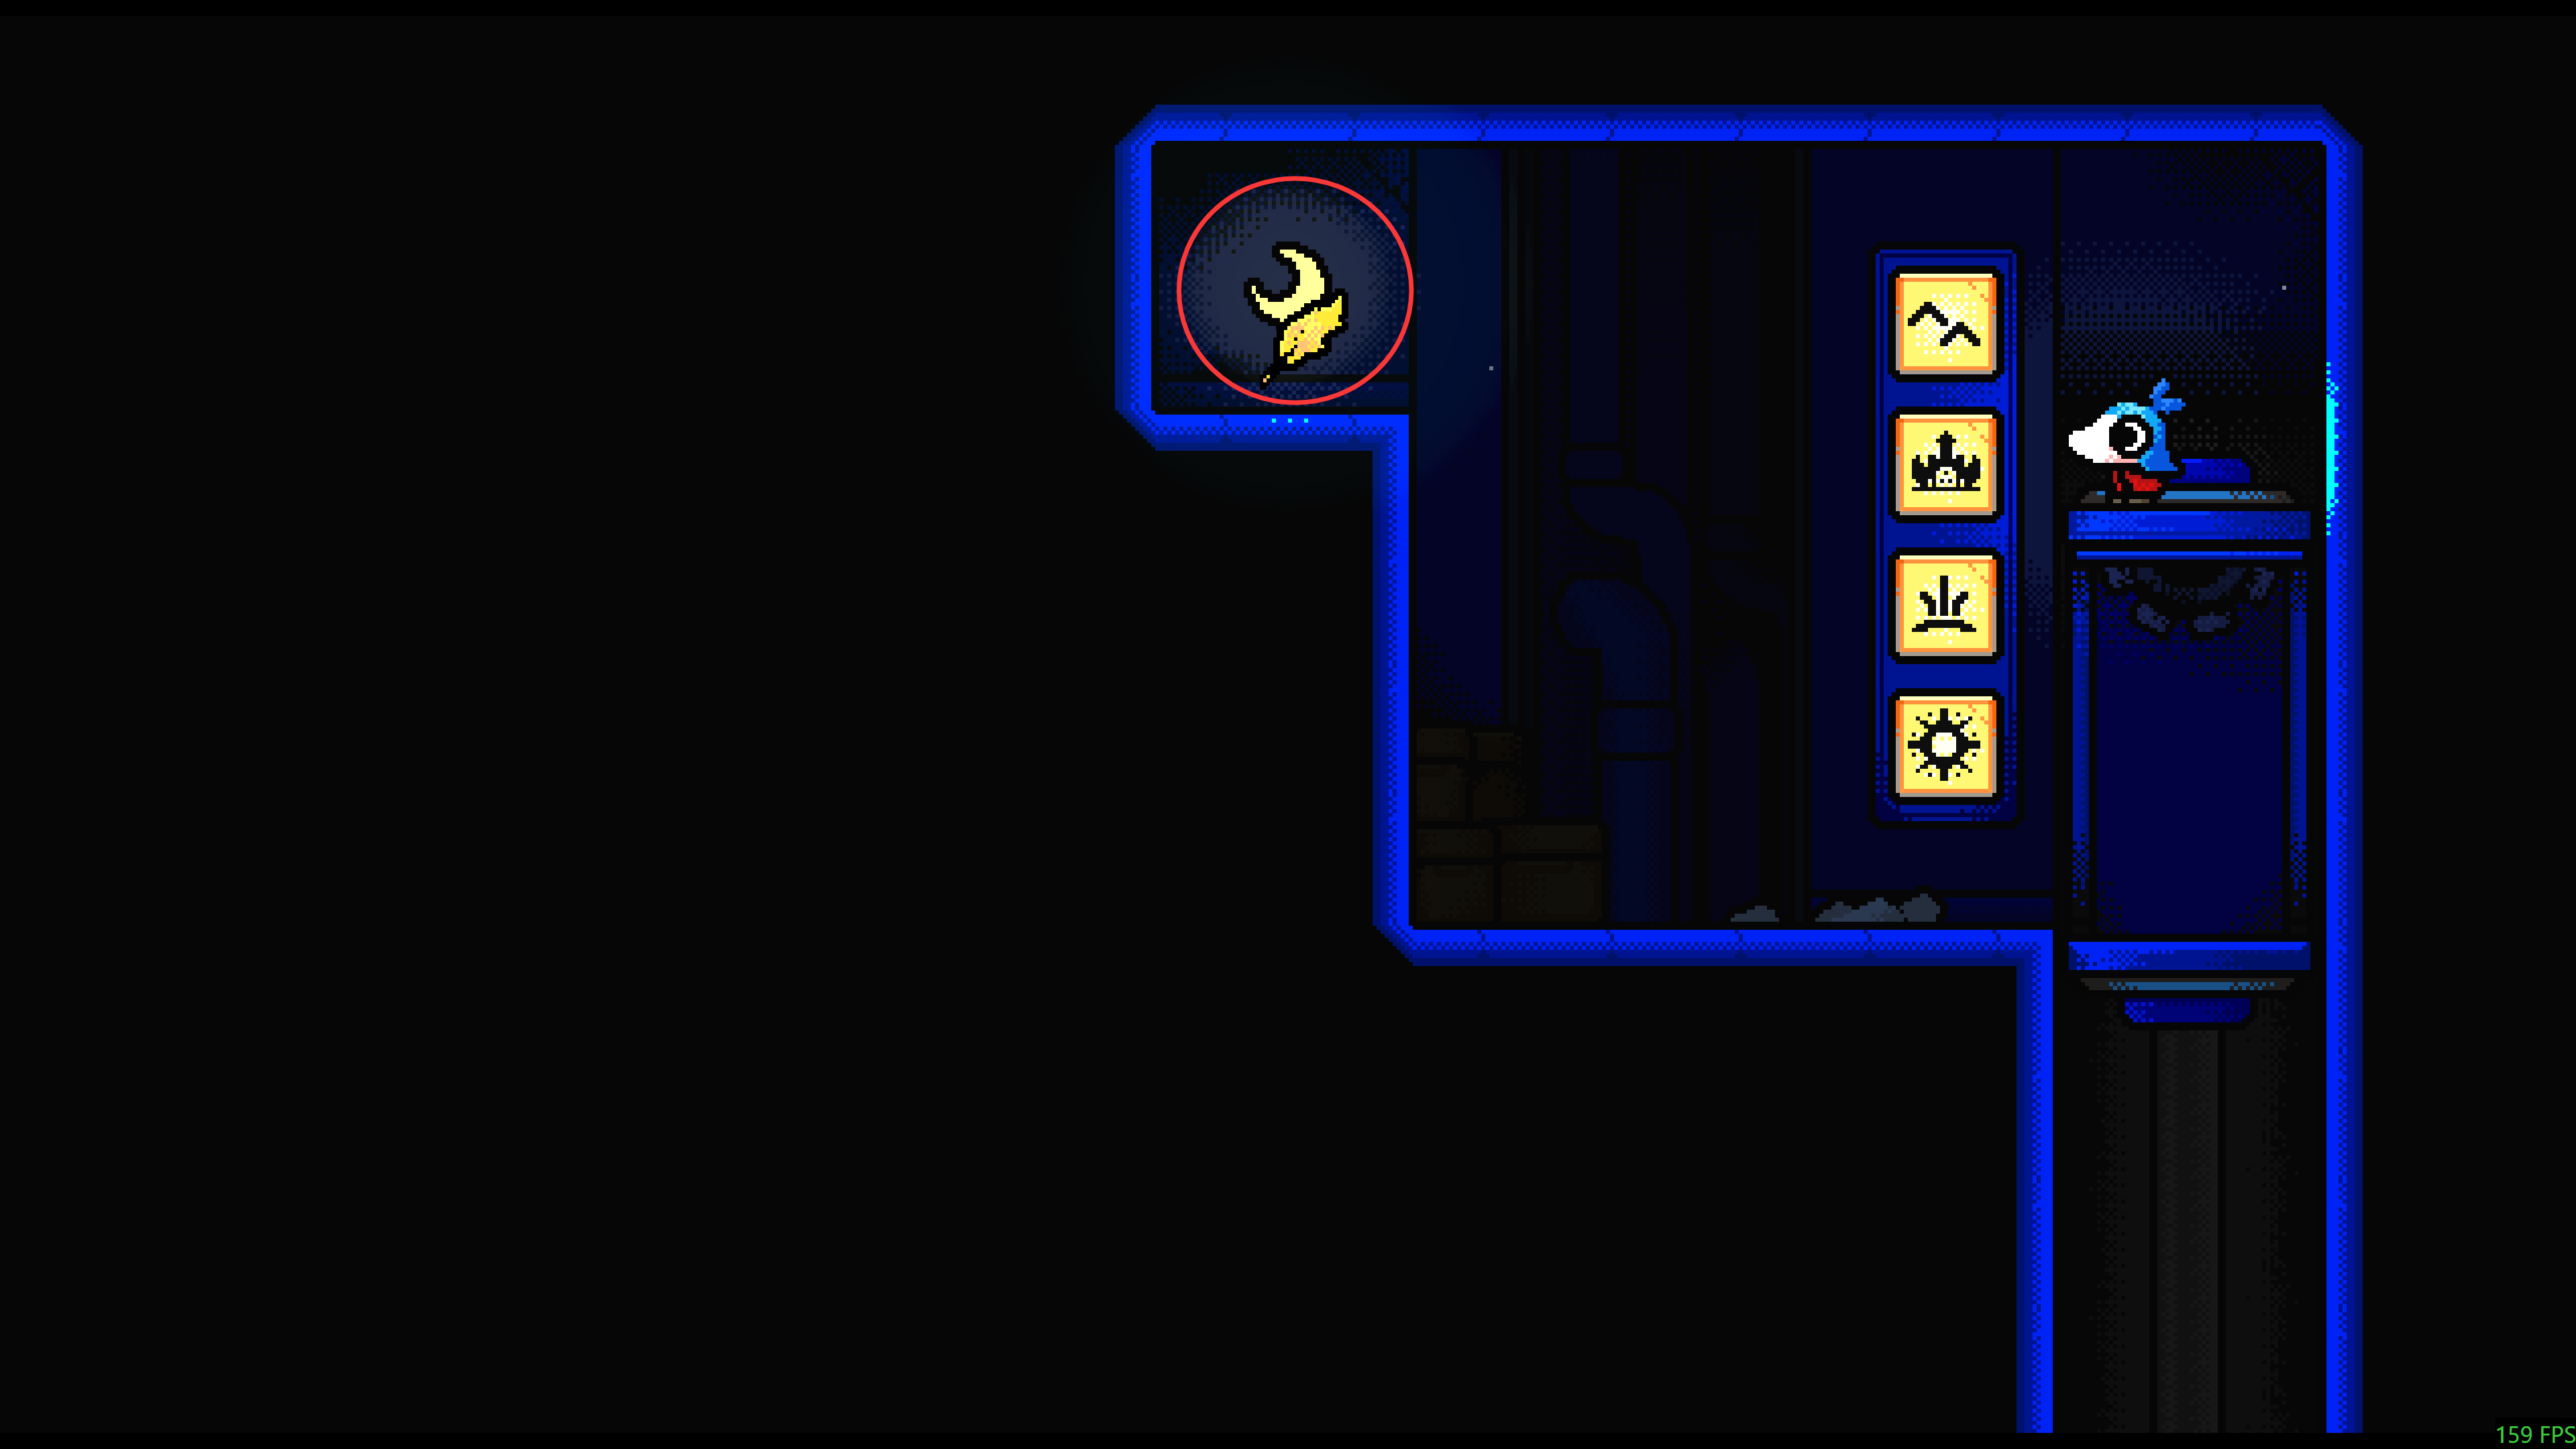
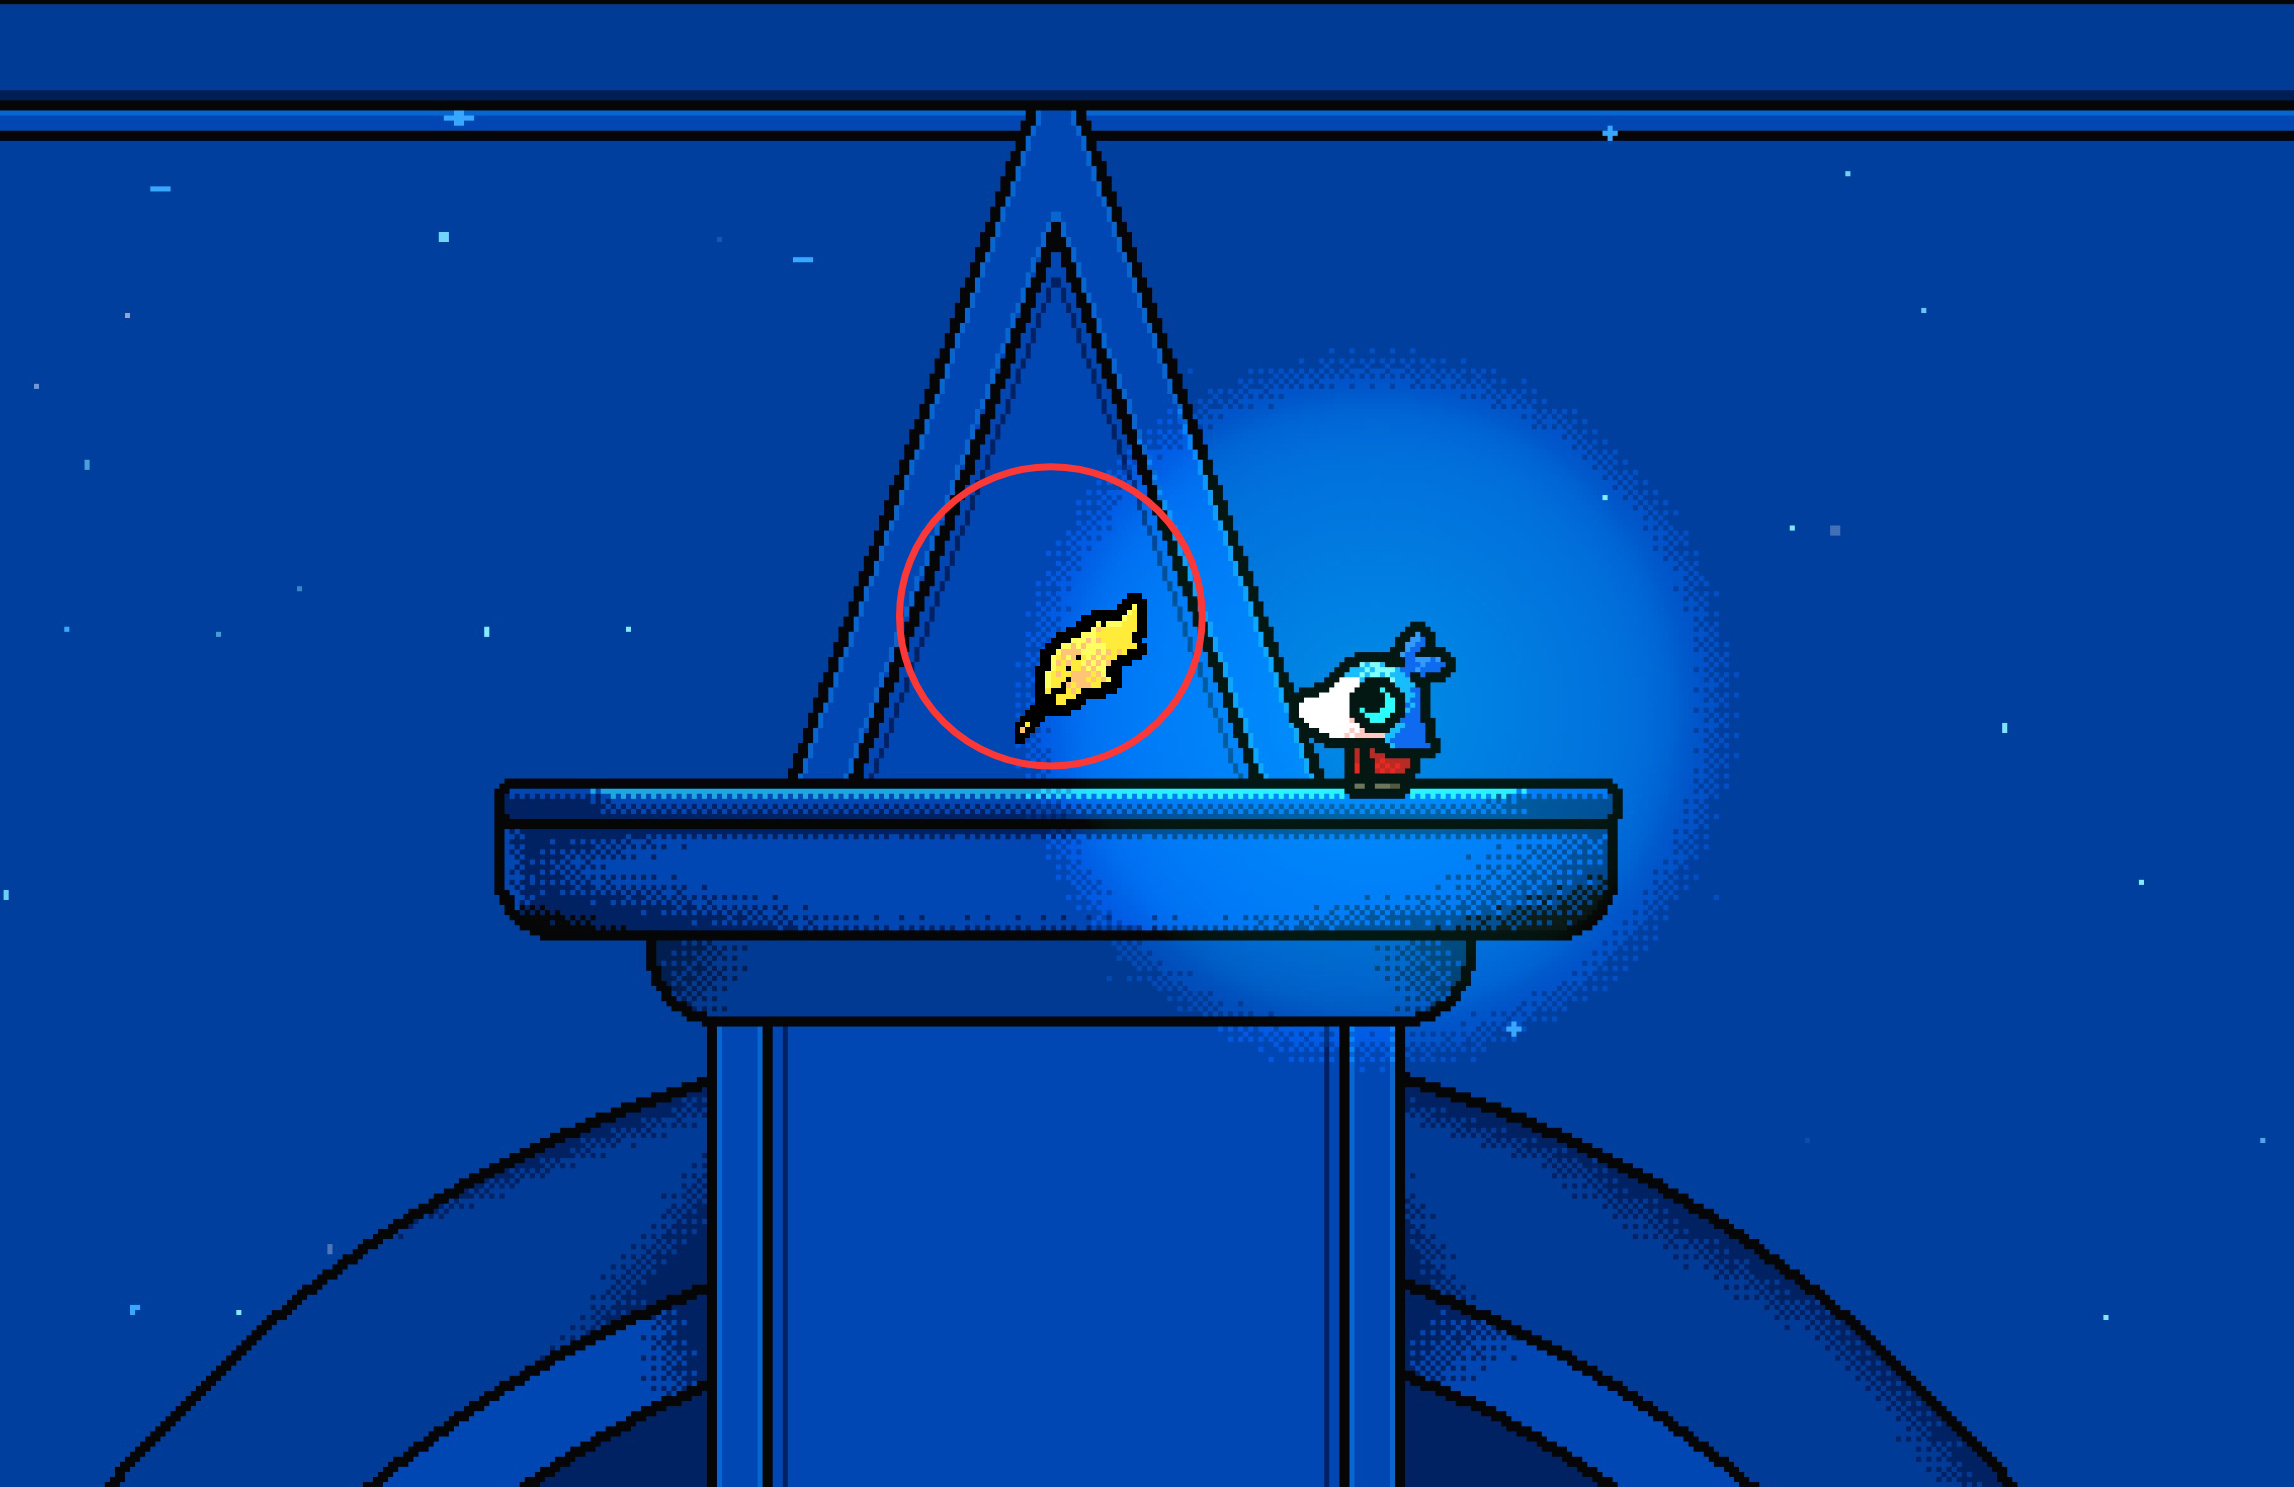
Return to the huge blue-eye rock room that taught moon form. Enter moon form there and glide to the right-hand side to take the visible golden feather. No separate long route is needed.
 Open full-size image ↗
This is the same blue-eye rock room pictured at the start. Glide right toward the circled feather. Original annotation: 文丶丶叔. Feather 5 · let the frog swallow moon form
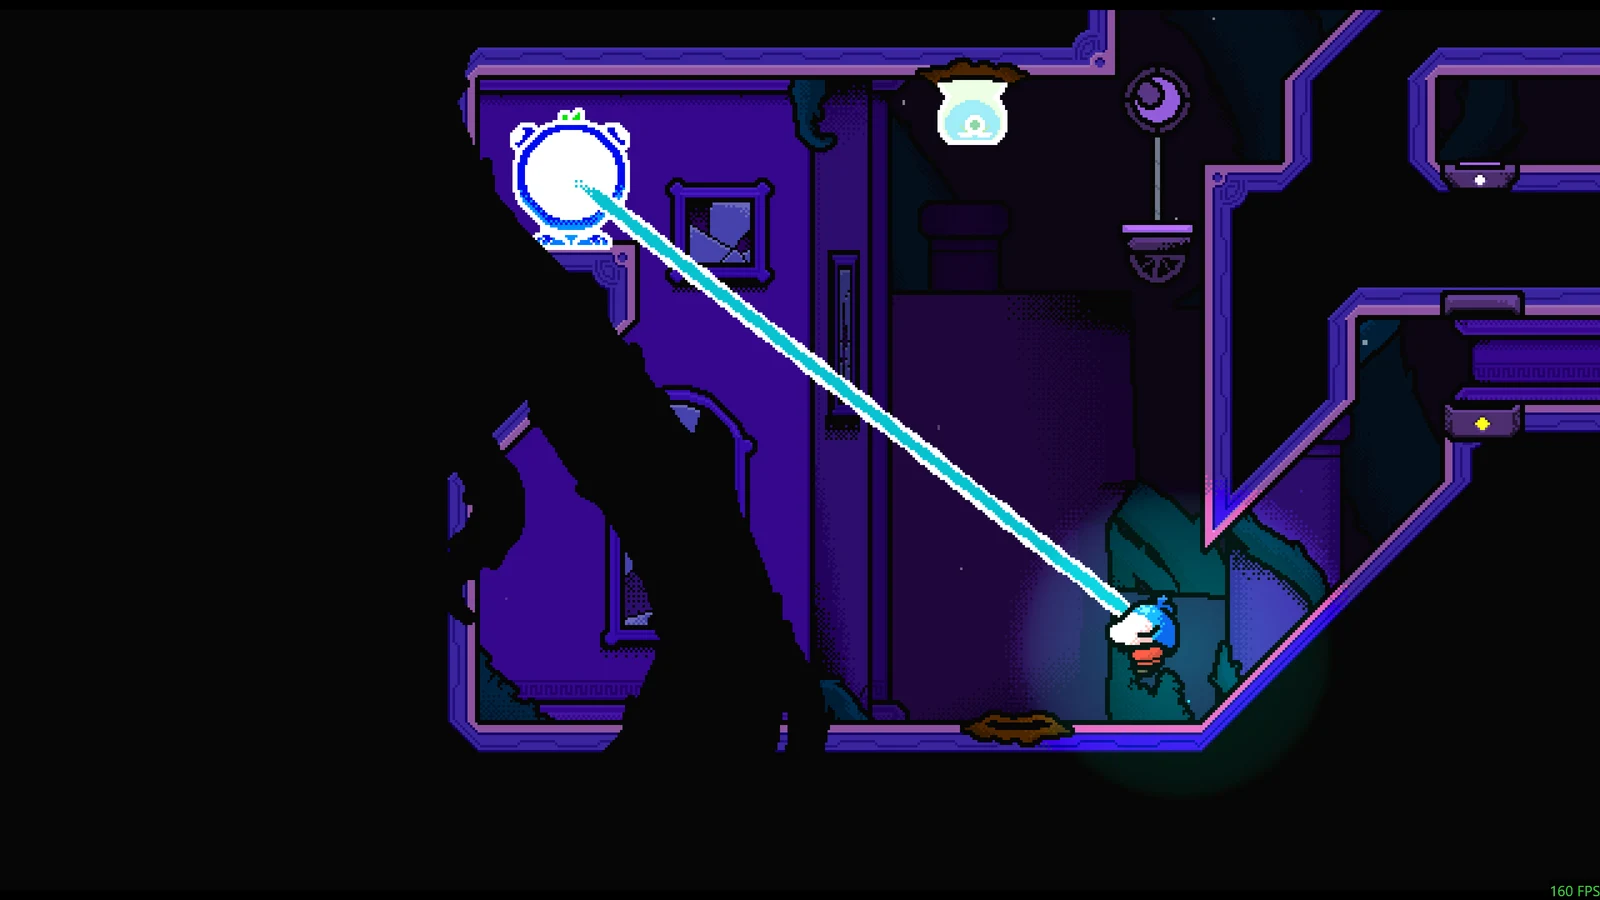
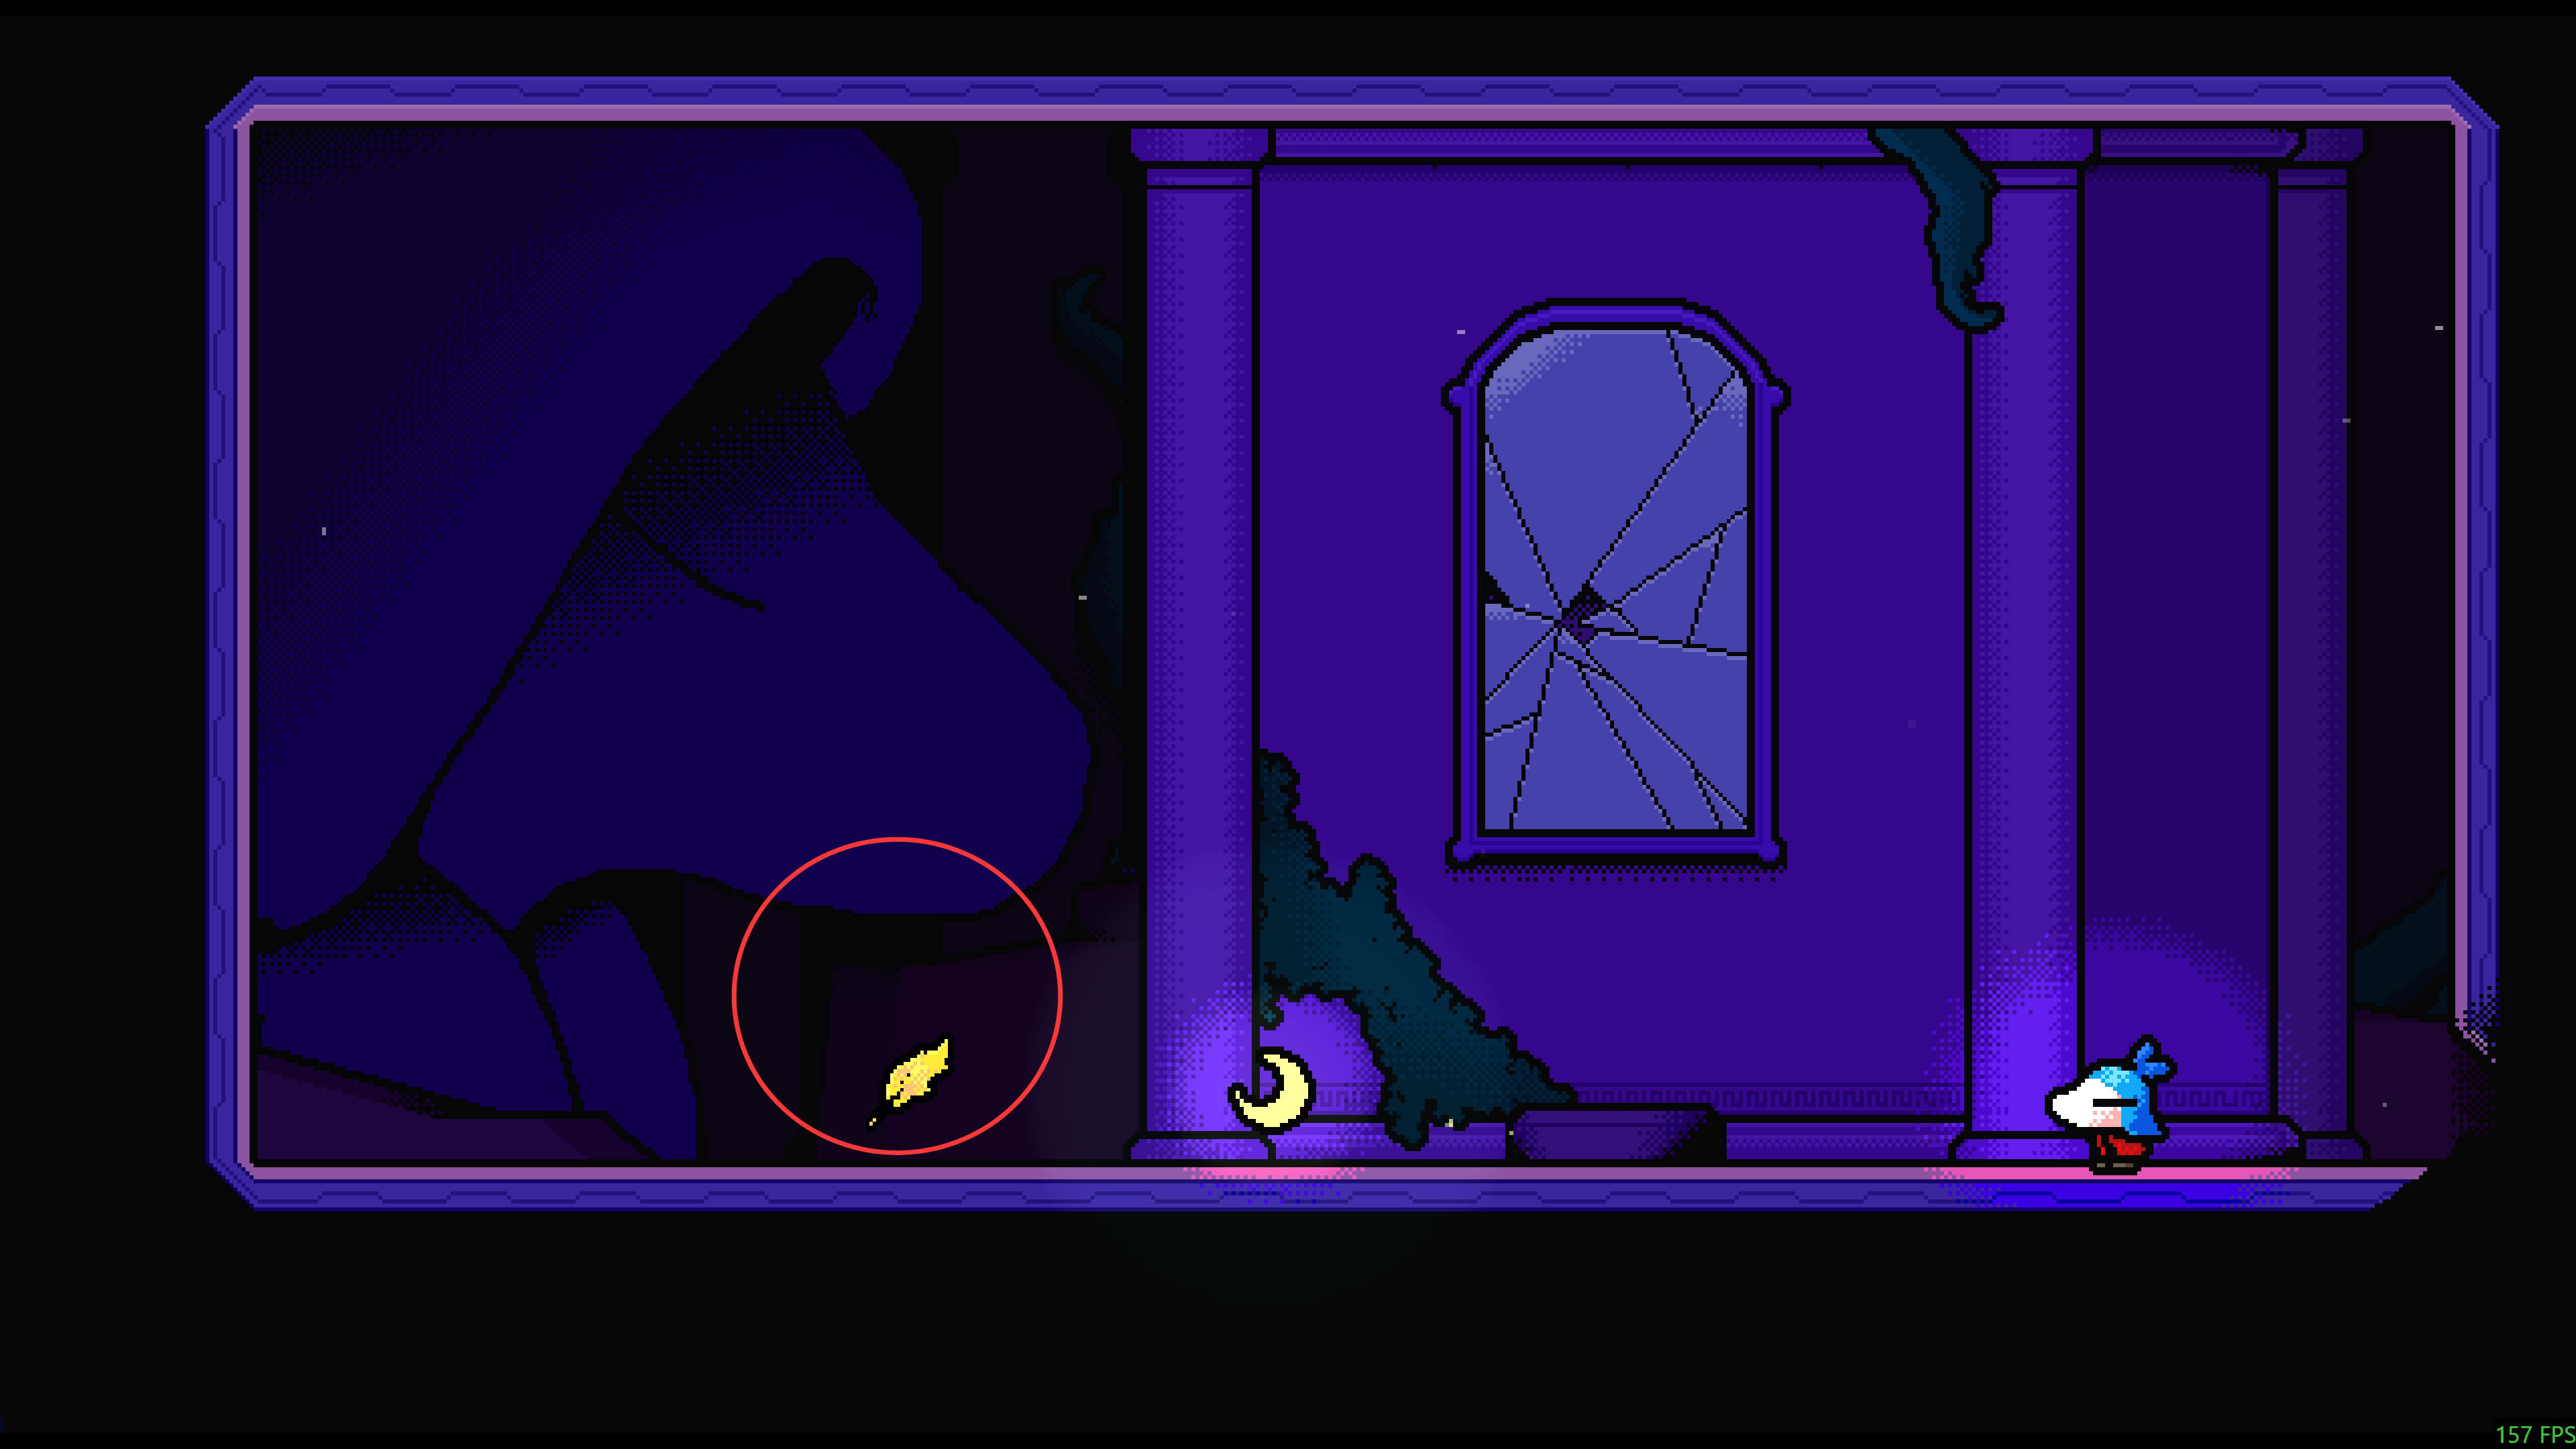
Go to the frog at (15,01). Enter moon form, let the frog swallow you, and jump back out. Hold left as you leave, heading toward the hidden room above-left at (14,02).
 Open full-size image ↗
Use moon form before the frog swallows you, then escape toward the upper left. Steam screenshot: 文丶丶叔. Feather 5 · enter the hidden room
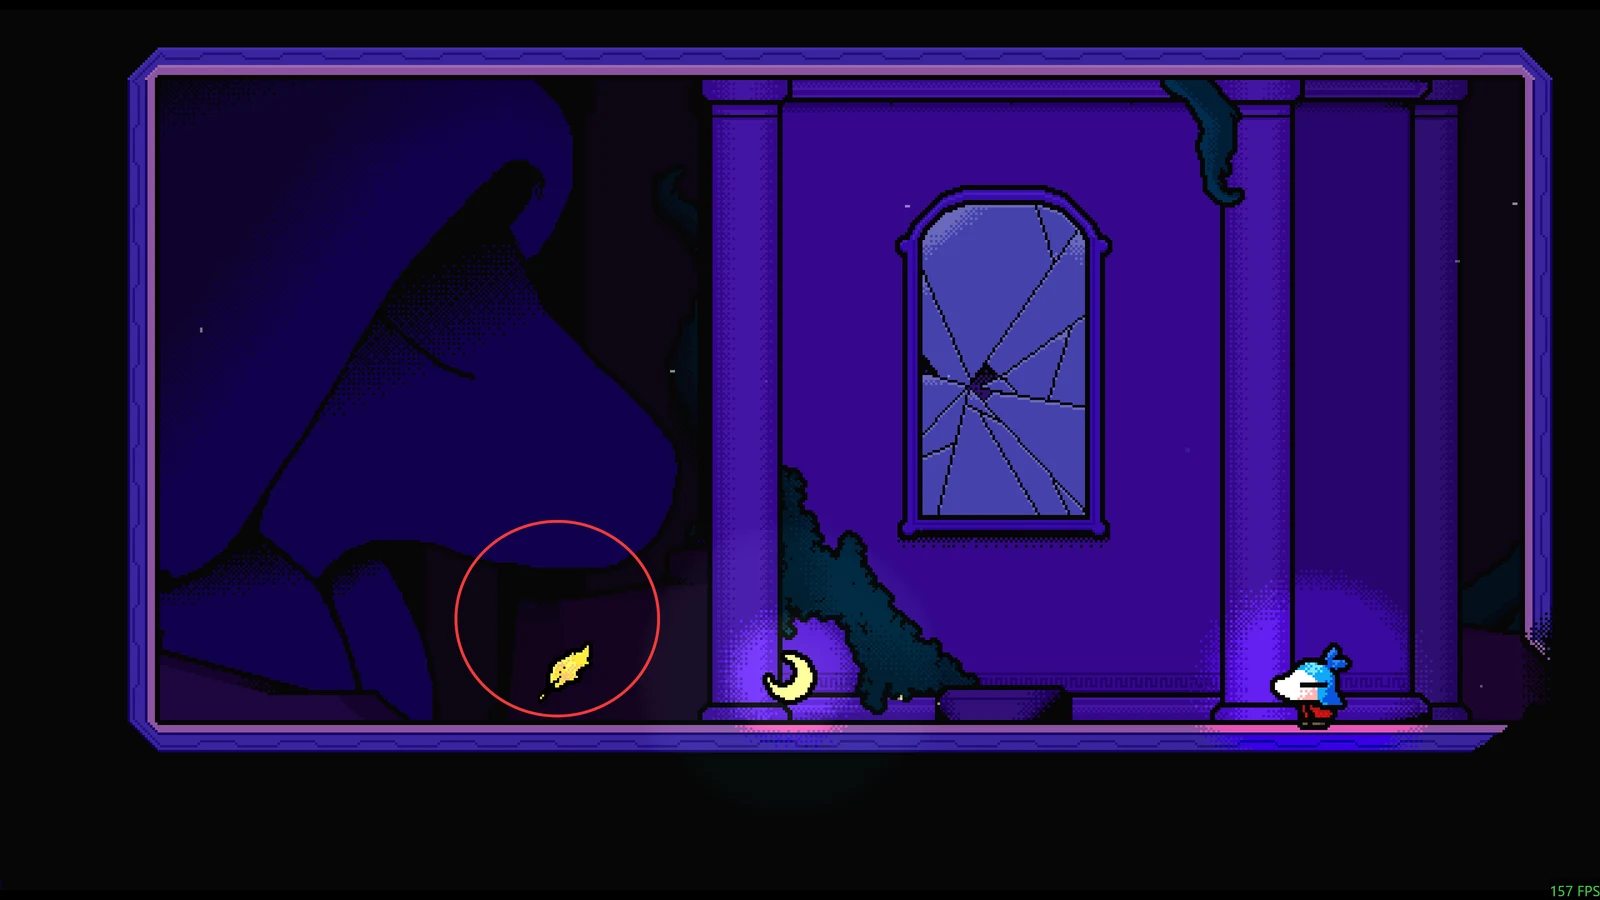
Move into the hidden room at (14,02) and take its feather. The route crosses a room edge hidden by foreground scenery. Current patch note: v1.0.16 fixed repeated moon-spitting caused by rapid jumps on the frog; do not depend on that old bug.
 Open full-size image ↗
Hidden-room destination for feather 5. Steam screenshot: 文丶丶叔.
How you know it worked
You have collected one feather from each of the five destinations, and the golden-feather total is five. Collection also reveals the Tome’s final-page text.
If you are still stuck
If moon form fails, clear the inventory away from the eye and aim at the crescent-shaped white, not its dark pupil. If the elevator is wrong, use the source’s panel labels rather than counting panels from the top. If the painting is missing, play its song at (16,18) after revealing the red-moon clues. For a failed glide, return to that route’s stated starting slope; being in the destination room alone does not supply the height.
Sources & image credits
- Five-feather route and original screenshots, 文丶丶叔 (Steam) ↗
- Eye trick and frog movement, MONOMOON.site ↗
- Red-moon return conditions, MONOMOON.site ↗
- Current official patch notes ↗
MONOMOON and its artwork belong to Gentle Giant. This guide is independent.